
Oracle Cloud Infrastructure(OCI) DevOpsことはじめ-Oracle Functions編-
OCI DevOps は、OCI 上に CI/CD 環境を構築するマネージドサービスです。このハンズオンでは、Oracle Functions に対する CI/CD パイプラインの構築手順を記します。
Oracle Functions についてOracle Functions は、Oracle Cloud Infrastructure(OCI)で提供される、Function as a Service です。詳細は、https://www.oracle.com/jp/cloud-native/functions/ をご確認ください。
- 環境
- OCI DevOps事前準備が完了していること
- Oracle Functionsことはじめが完了していること
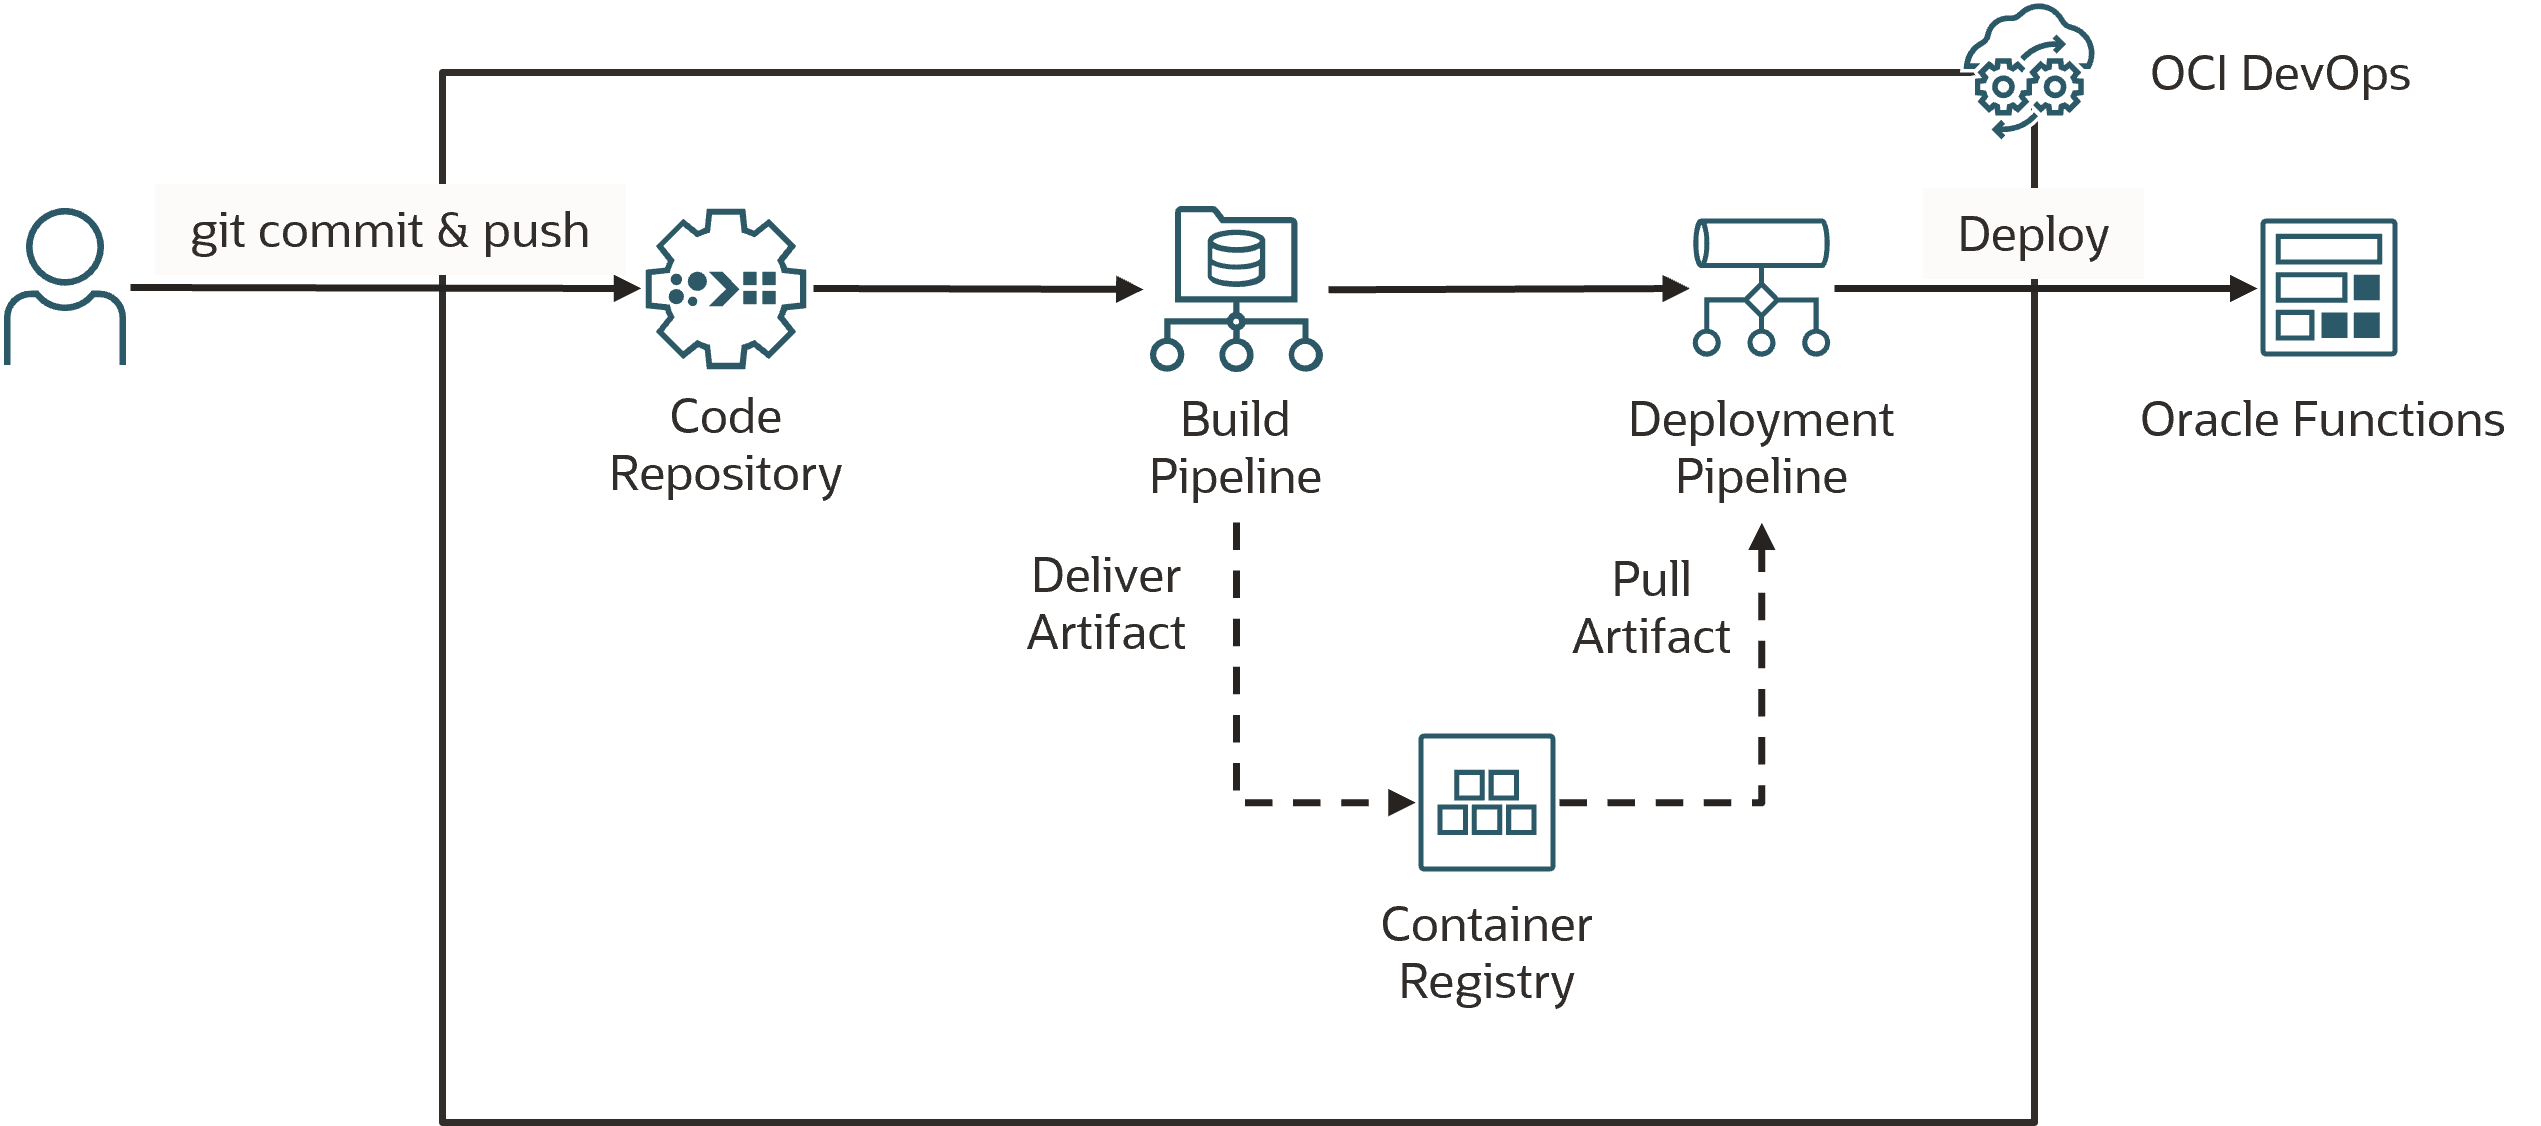
本ハンズオンでは、以下のような環境を構築し、ソースコードの変更が Oracle Functions に自動的に反映されることを確認します。
- 1.OCIR の作成
- 2.ハンズオンに使用する資材のセットアップ
- 3.アプリケーションの動作確認
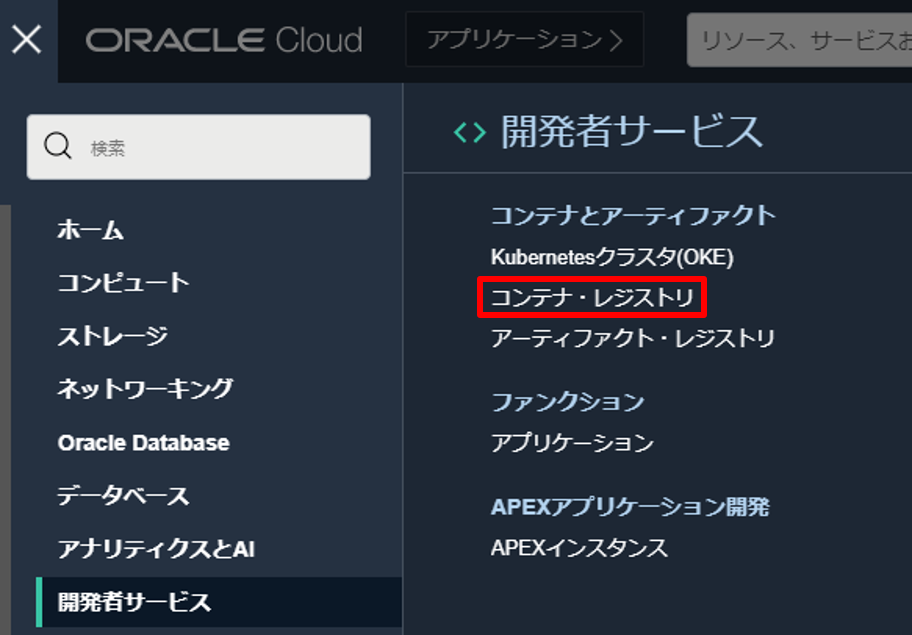
Oracle Functions のコンテナイメージの保存先である OCIR(Oracle Cloud Infrastructure Registry)を作成します。OCI Console 左上のハンバーガーメニューから、開発者サービス > コンテナとアーティファクト > コンテナ・レジストリと選択します。
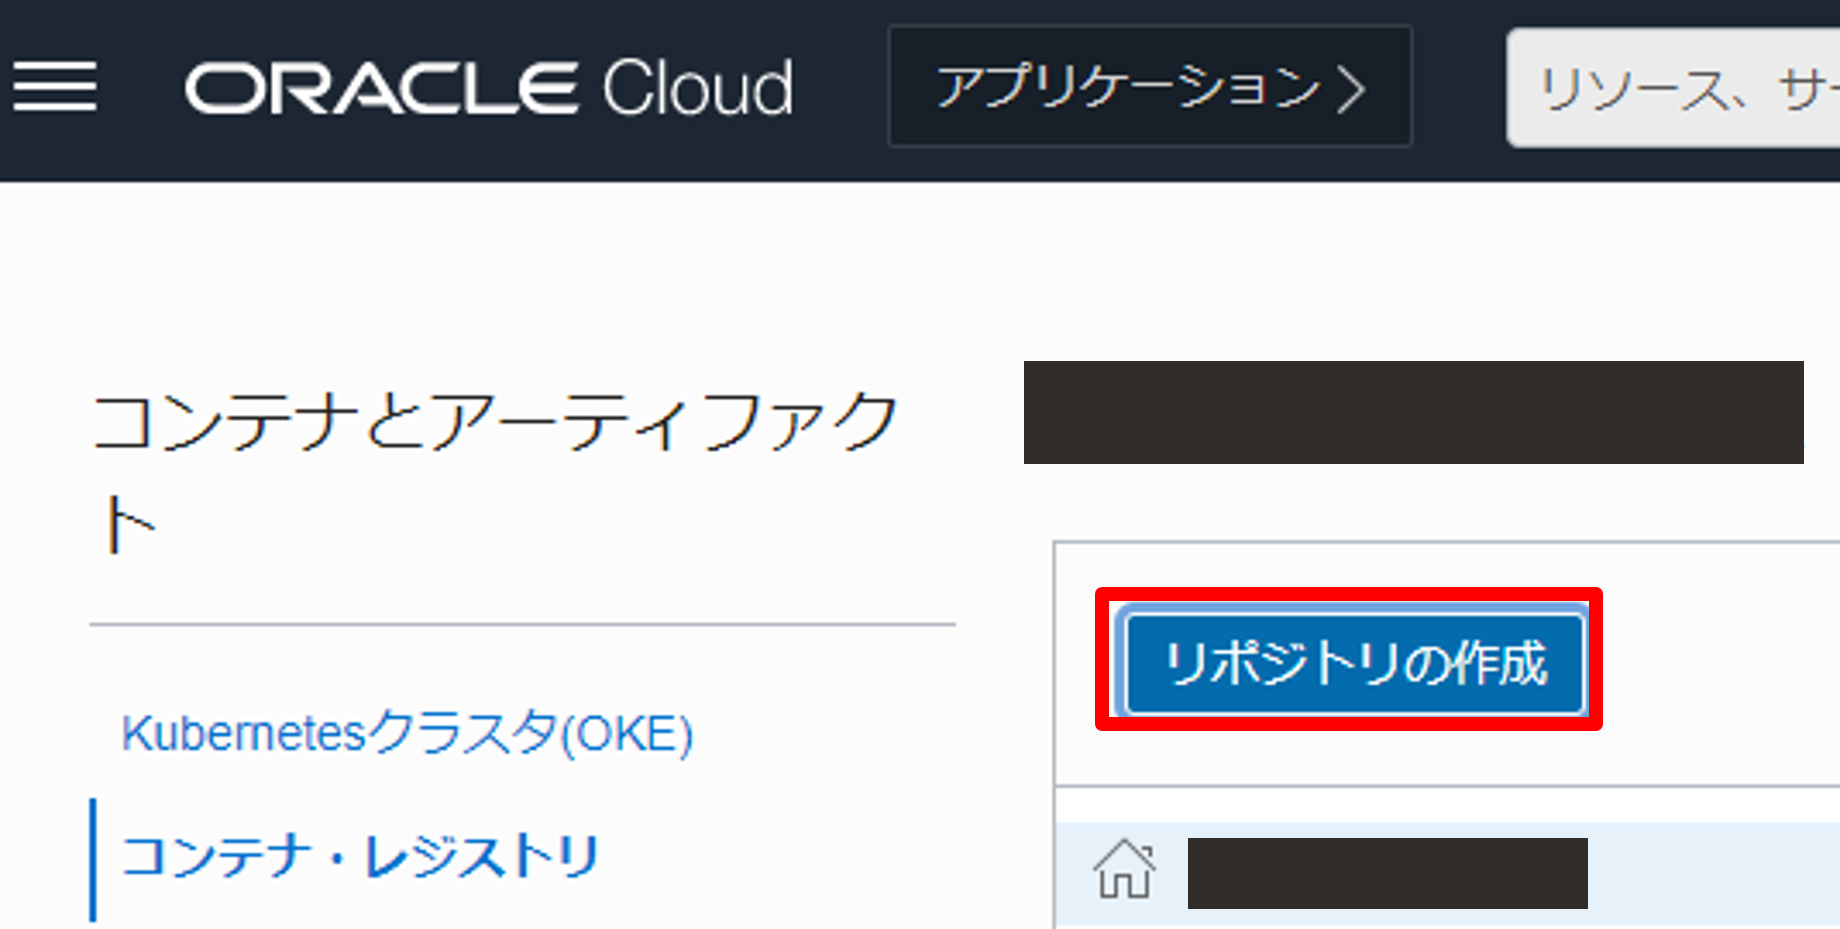
リポジトリの作成を押します。
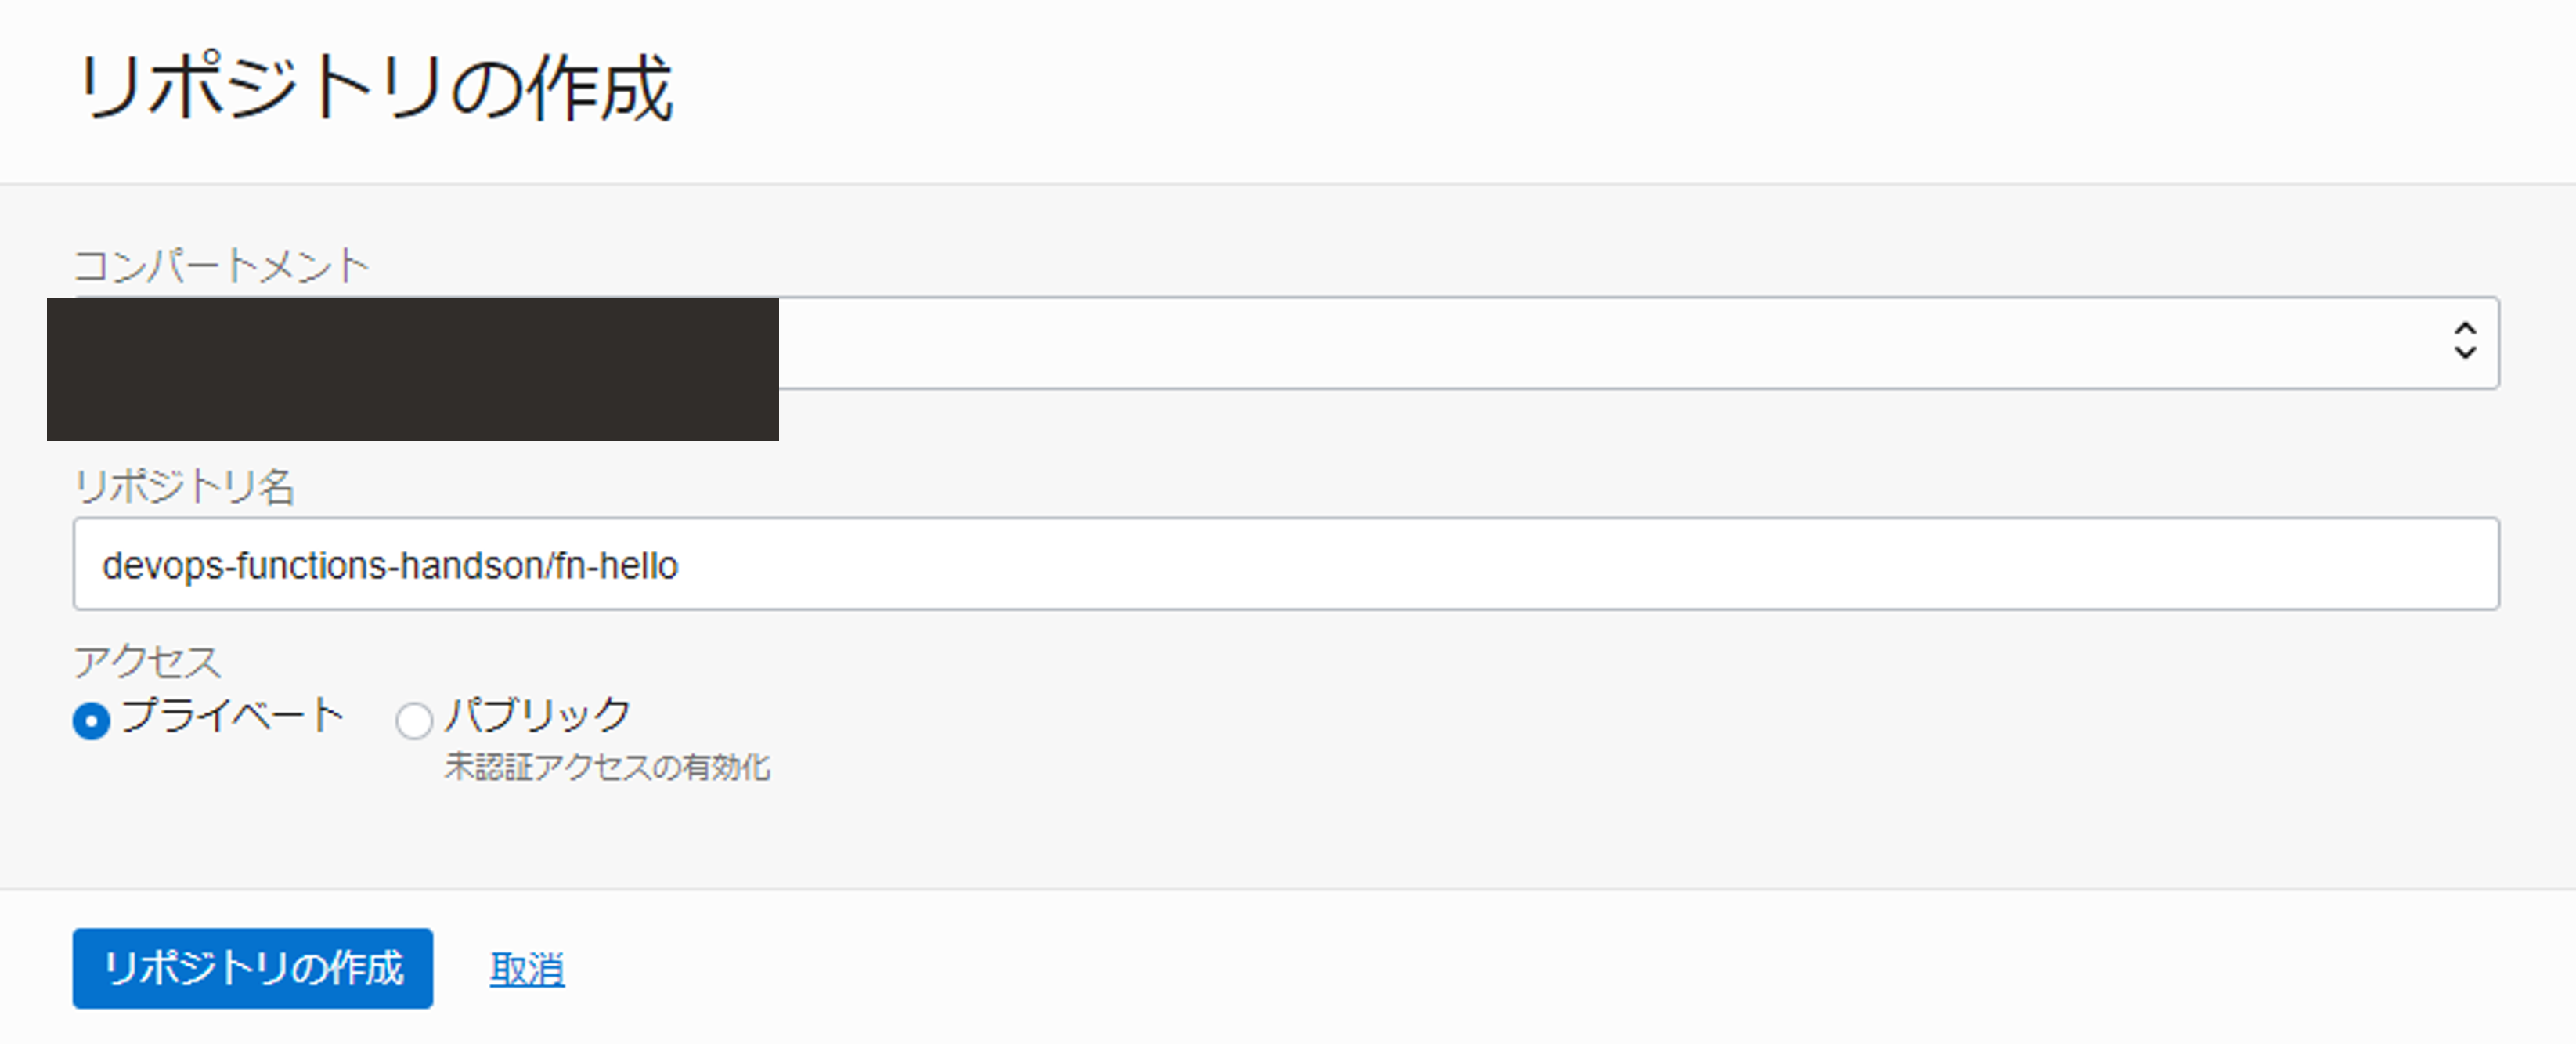
以下のように入力し、リポジトリを作成します。
- リポジトリ名: devops-functions-handson/fn-hello
- アクセス: プライベート
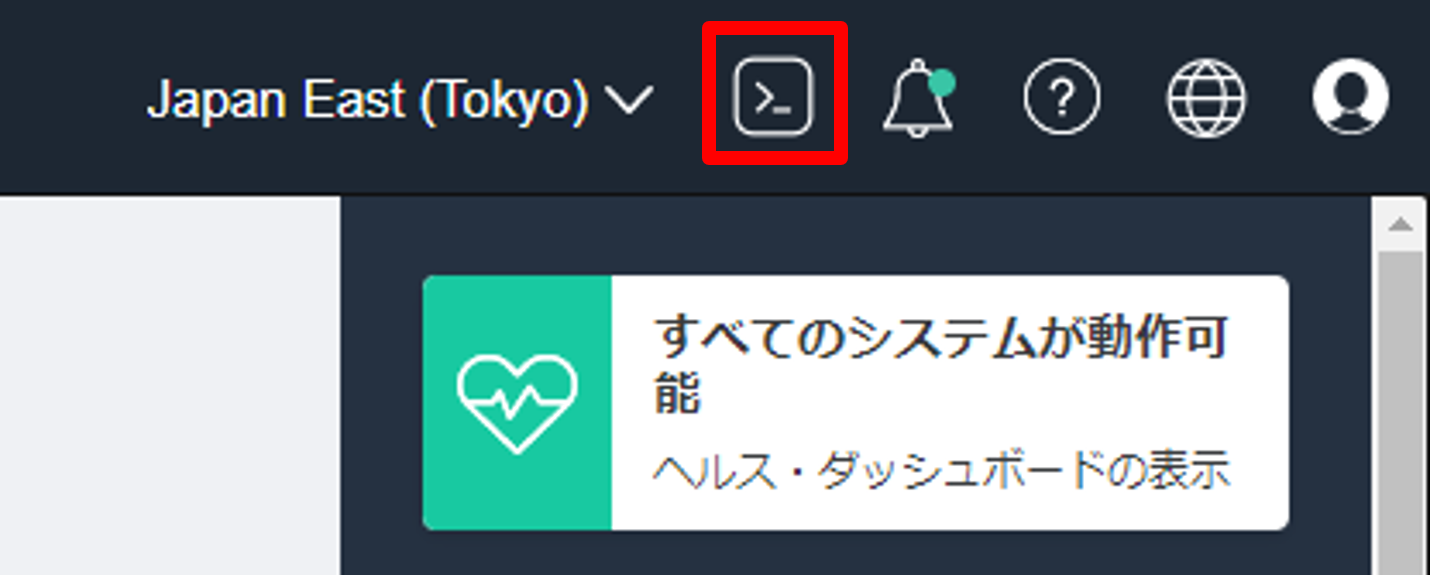
Cloud Shell を開きます。OCI Console 右上の Cloud Shell を押します。
ハンズオンに使用する資材をダウンロードします。
cd ~; \
wget -O devops-template-for-oracle-functions.zip https://orasejapan.objectstorage.ap-tokyo-1.oci.customer-oci.com/n/orasejapan/b/oci-devops-handson/o/functions%2Fdevops-template-for-oracle-functions.zip
zip を解答します。
unzip functions_devops-template-for-oracle-functions.zip
ダウンロードした資材には以下が含まれています。
.
├── README.md
├── build_spec.yaml
├── fn-hello
│   ├── func.yaml
│   ├── mvnw
│   ├── mvnw.cmd
│   ├── pom.xml
│   ├── src
│   │   ├── main
│   │   │   └── java
│   │   │       └── com
│   │   │           └── example
│   │   │               └── fn
│   │   │                   └── HelloFunction.java
└── prepare
    └── prepare.sh
アプリケーションを手動で Oracle Functions にデプロイして、動作確認をします。まずは、アプリケーションを作成します。
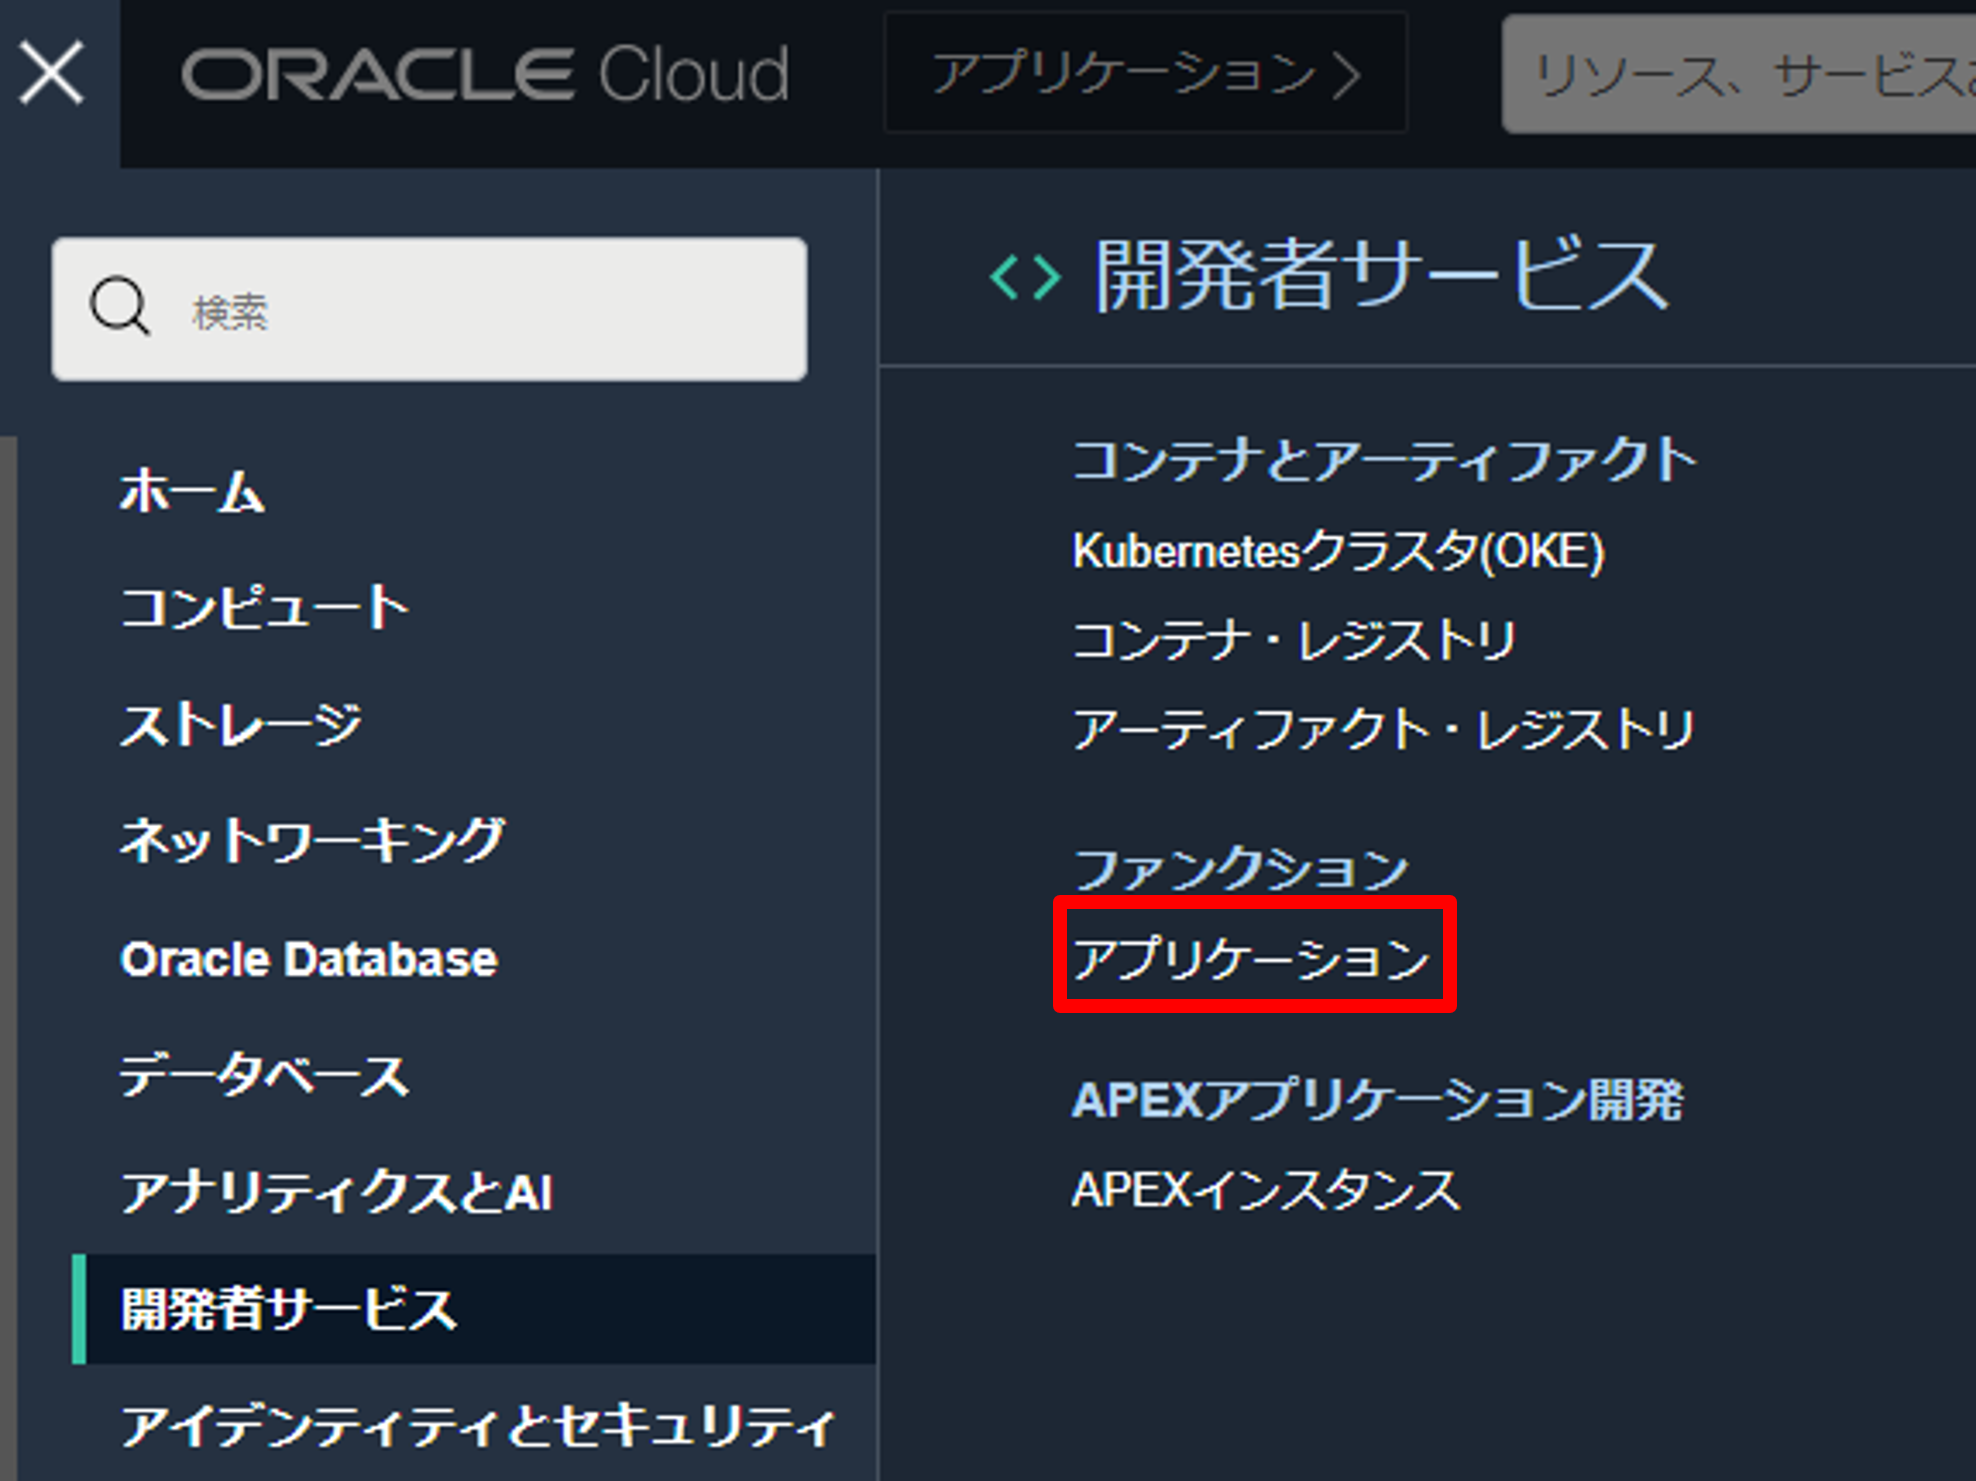
OCI Console 左上のハンバーガーメニューから、開発者サービス > ファンクション > アプリケーションと選択します。
アプリケーションの作成を押します。

以下のように入力し、アプリケーションを作成します。
- 名前: oci-devops-handson-app
- VCN: Oracle Functions ハンズオン - 事前準備で作成済みの VCN
- サブネット: Oracle Functions ハンズオン - 事前準備で作成済みのサブネット
アプリケーションに Function をデプロイします。
cd ~/devops-template-for-oracle-functions/fn-hello; \
fn deploy --app oci-devops-handson-app
デプロイが完了したら、実行します。
fn invoke oci-devops-handson-app fn-hello
以下のように結果が返却されることを確認します。
Hello from Function: 1.0
- DevOps環境構築
- パイプラインの実行
- デプロイの確認
ここでは、Oracle Functions に対して、CI/CD を実現するためのパイプラインを構築します。
ここでは、DevOpsの環境構築を行います。
ここでは、事前準備に追加で必要となるポリシーの設定を行います。
追加で必要となるポリシーは以下となります。
| ポリシー | 説明 |
|---|---|
| Allow dynamic-group OCI_DevOps_Dynamice_Group to manage functions-family in compartment id コンパートメントOCID | OCI DevOpsがOracle Functionsを管理できるようにするポリシー |
ハンズオン資材に含まれているポリシー設定用のスクリプトを実行します。
chmod +x ./devops-template-for-oracle-functions/prepare/prepare.sh
sh ./devops-template-for-oracle-functions/prepare/prepare.sh
コマンド結果
ocid1.tenancy.oc1..xxxxxxxxxxxxxxxxxxxxxxxxxxxxxxxxxxxxxxxxxxxxxxxxxxxxxxxxxxxx
{
  "data": {
    "compartment-id": "ocid1.tenancy.oc1..xxxxxxxxxxxxxxxxxxxxxxxxxxxxxxxxxxxxxxxxxxxxxxxxxxxxxxxxxxxx",
    "defined-tags": {
      "Oracle-Tags": {
        "CreatedBy": "oracleidentitycloudservice/xxxxxxxxxxx@xxxxx",
        "CreatedOn": "2021-11-18T07:41:50.746Z"
      }
    },
    "description": "OCI_DevOps_Policy",
    "freeform-tags": {},
    "id": "ocid1.policy.oc1..xxxxxxxxxxxxxxxxxxxxxxxxxxxxxxxxxxxxxxxxxxxxxxxxxxxxxxxxxxxx",
    "inactive-status": null,
    "lifecycle-state": "ACTIVE",
    "name": "OCI_DevOps_Policy",
    "statements": [
      "Allow dynamic-group OCI_DevOps_Dynamice_Group to manage functions-family in compartment id ocid1.tenancy.oc1..xxxxxxxxxxxxxxxxxxxxxxxxxxxxxxxxxxxxxxxxxxxxxxxxxxxxxxxxxxxx"
    ],
    "time-created": "2021-11-18T07:41:50.880000+00:00",
    "version-date": null
  },
  "etag": "31c9339700c6132a1b6205df041ad52fcf66be51"
}
これでポリシーの設定は完了です。
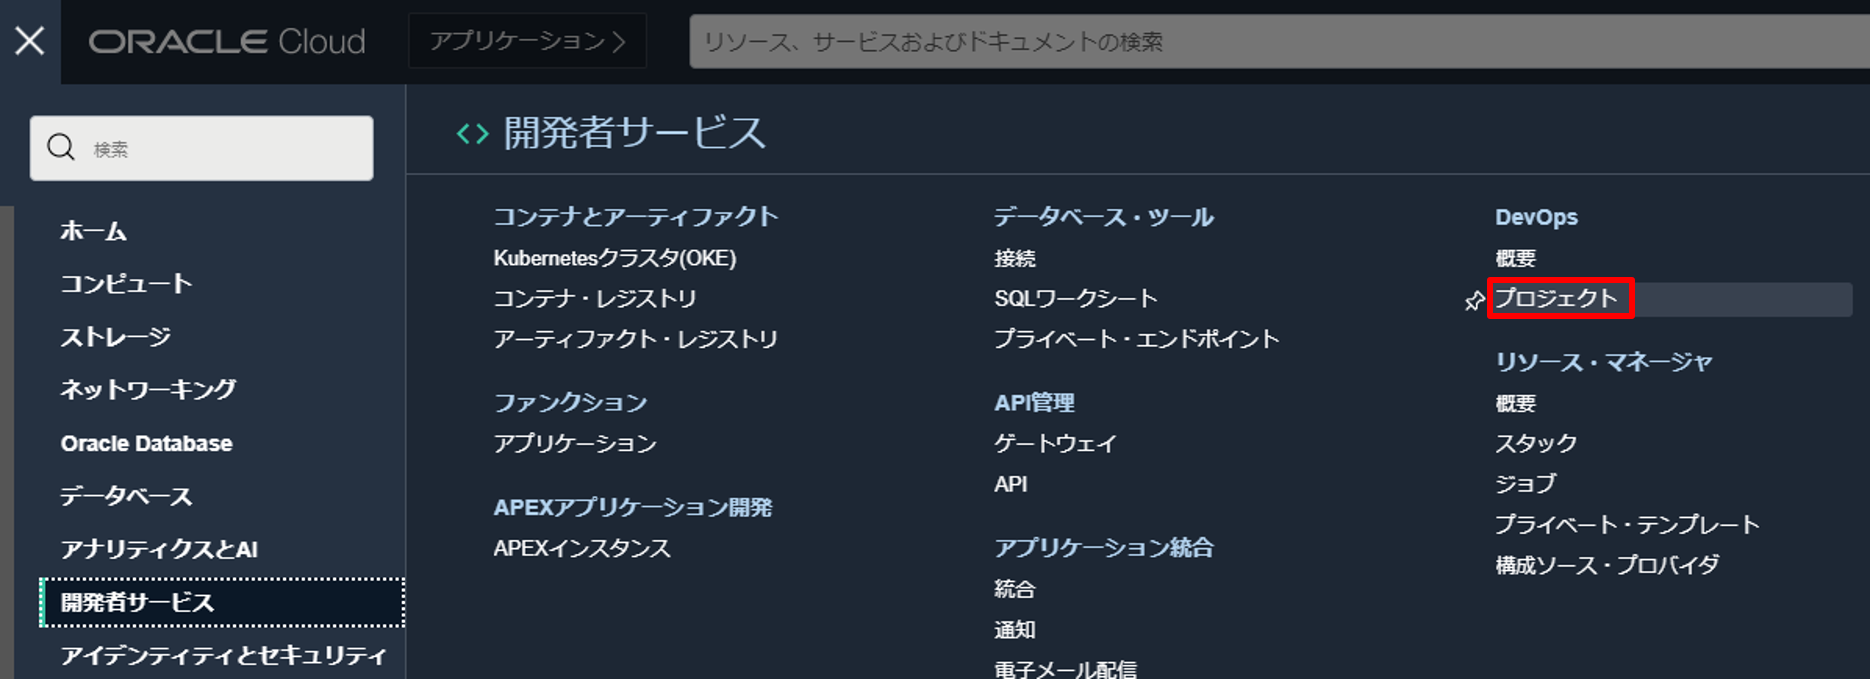
アプリケーションコードのバージョン管理を行うためのリポジトリを作成します。OCI Console 左上のハンバーガーメニューから、開発者サービス > DevOps > プロジェクトと選択します。
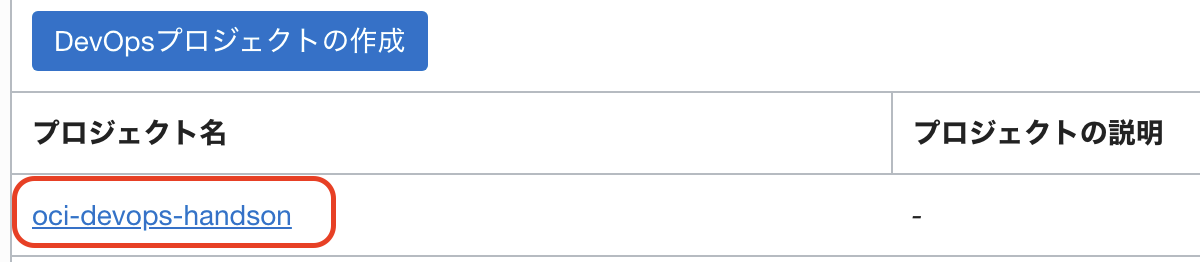
事前準備で作成したプロジェクト(oci-devops-handson)を選択します。
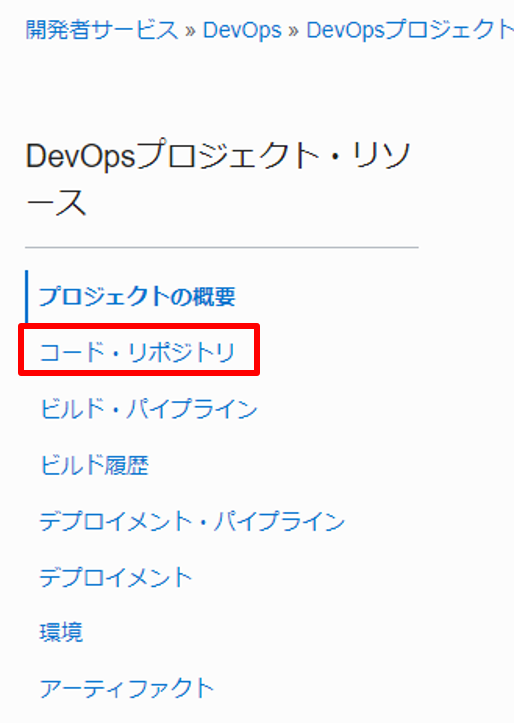
コード・リポジトリを選択します。
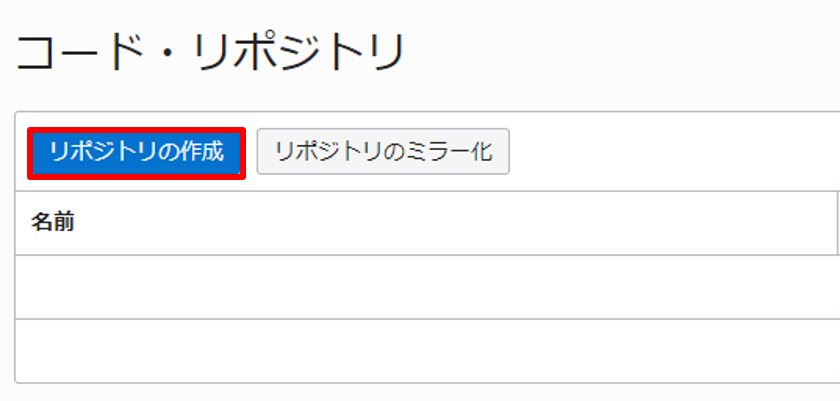
リポジトリの作成を押します。
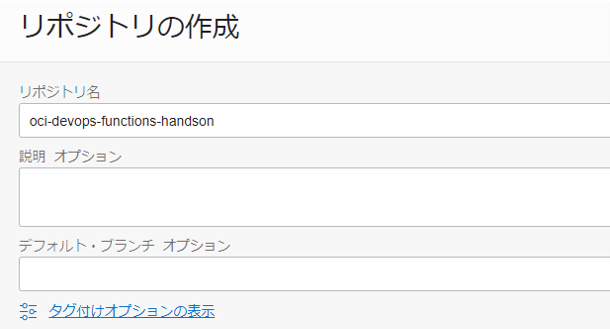
以下のように入力し、コード・リポジトリを作成します。
- リポジトリ名: oci-devops-functions-handson
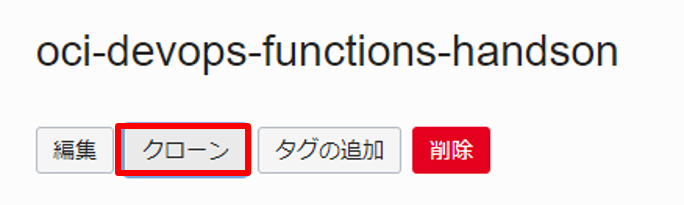
作成したコード・リポジトリ(oci-devops-functions-handson)の詳細画面でクローンを押します。
クローンするための URL をコピーします。
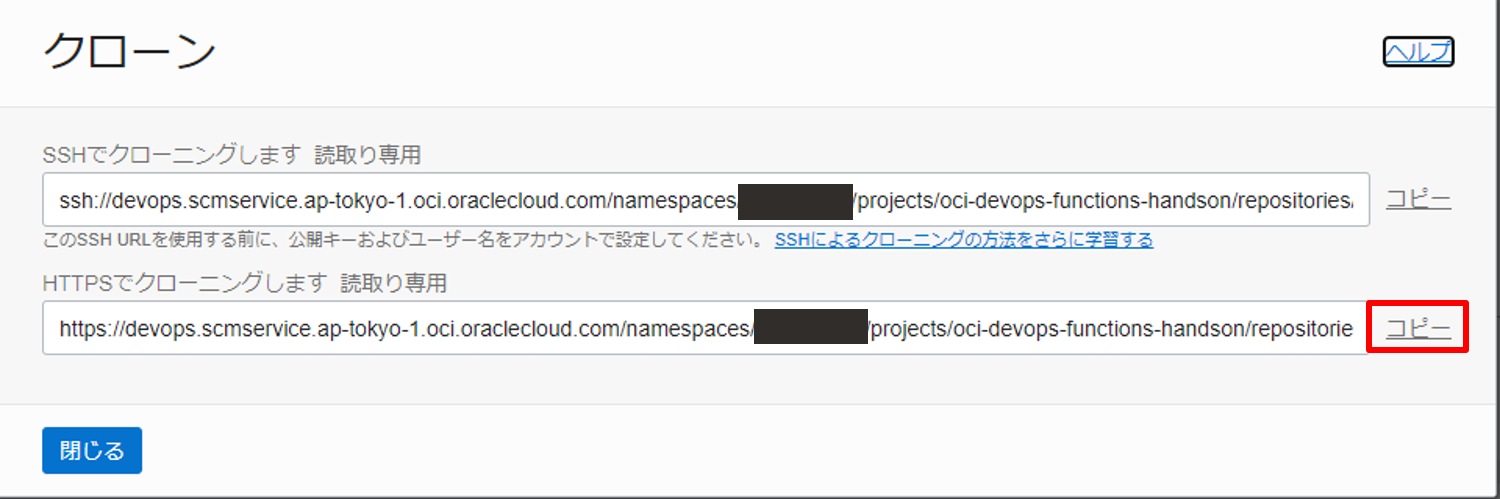
作成した空リポジトリをクローンします。(リポジトリの URL はコピーした URL に置き換えてください)
cd ~; \
git clone <repository-url>
次に、ハンズオンに使用する資材の取得でダウンロードしたハンズオン資材をコピーします。
cd ~; \
cp -r devops-template-for-oracle-functions/* oci-devops-functions-handson
コード・リポジトリ(oci-devops-functions-handson)にコピーした内容をプッシュします。
cd ~/oci-devops-functions-handson; \
git add .; \
git commit -m "Initial commit"; \
git push -u origin main
Git の資格情報を求められた場合
以下のような文字列が出力された場合は、DevOps ことはじめ - oci-devops-handson リポジトリのユーザ名とパスワードの取得を参考に資格情報を入力してください。
Username for 'https://devops.scmservice.ap-tokyo-1.oci.oraclecloud.com'
作成したコード・リポジトリ(oci-devops-functions-handson)の詳細画面で以下のようになっていれば、コード・リポジトリのセットアップは完了です。

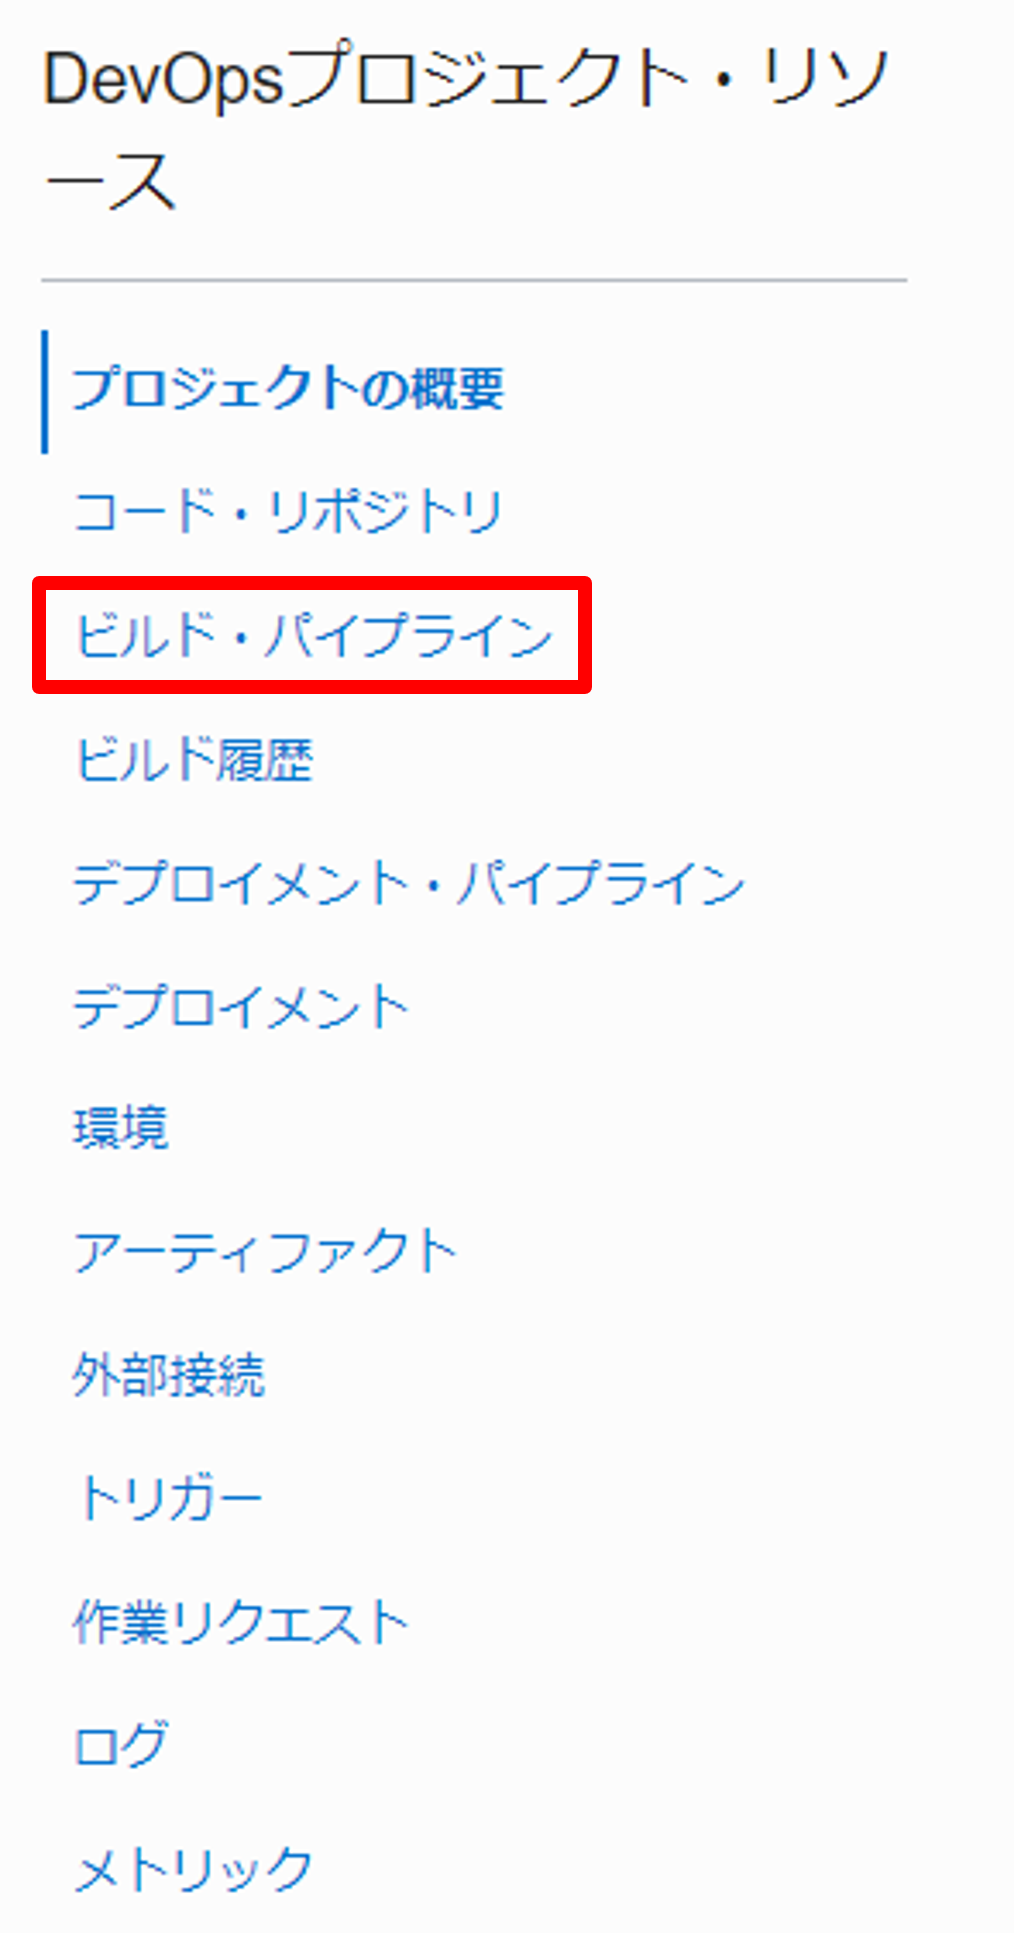
作成した DevOps プロジェクト(oci-devops-handson)の詳細画面でビルド・パイプラインを選択します。
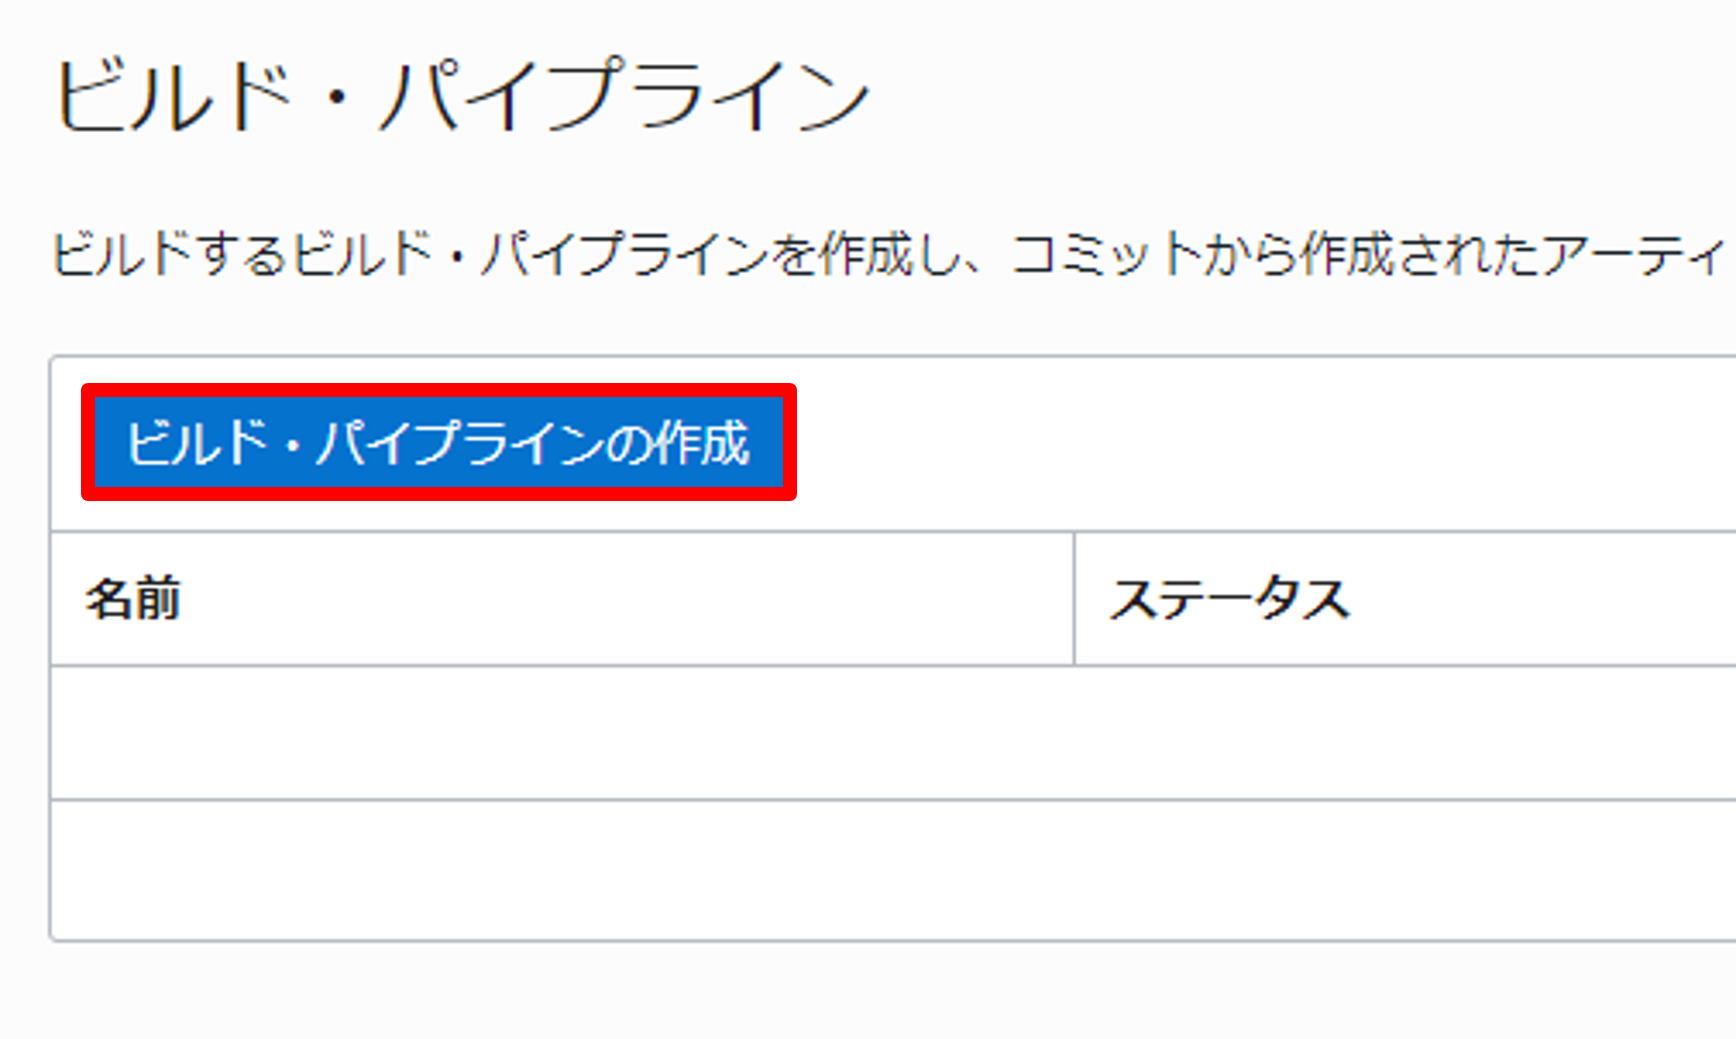
ビルド・パイプラインの作成を押します。
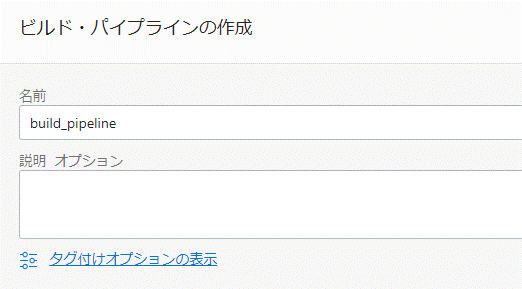
以下のように入力し、ビルド・パイプラインを作成します。
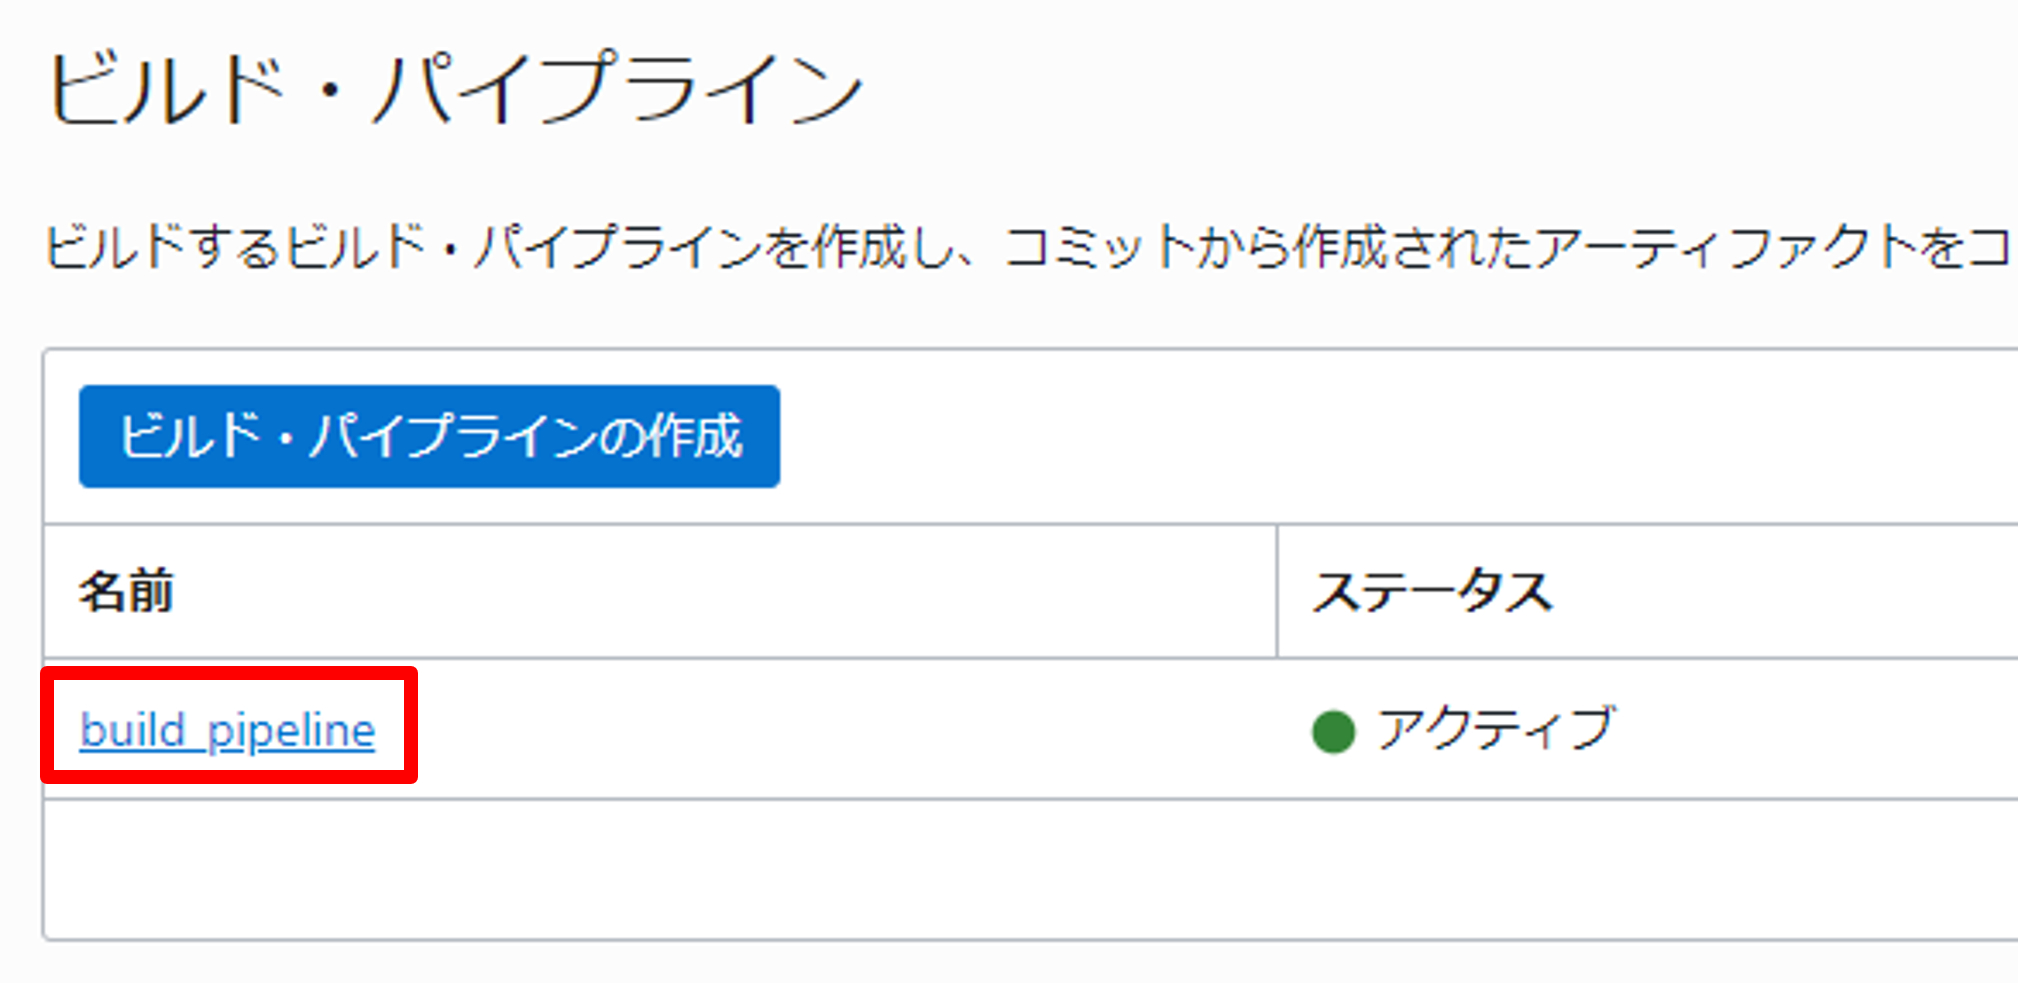
- 名前: build_pipeline
ステータスがアクティブとなった作成したビルド・パイプラインをクリックします。
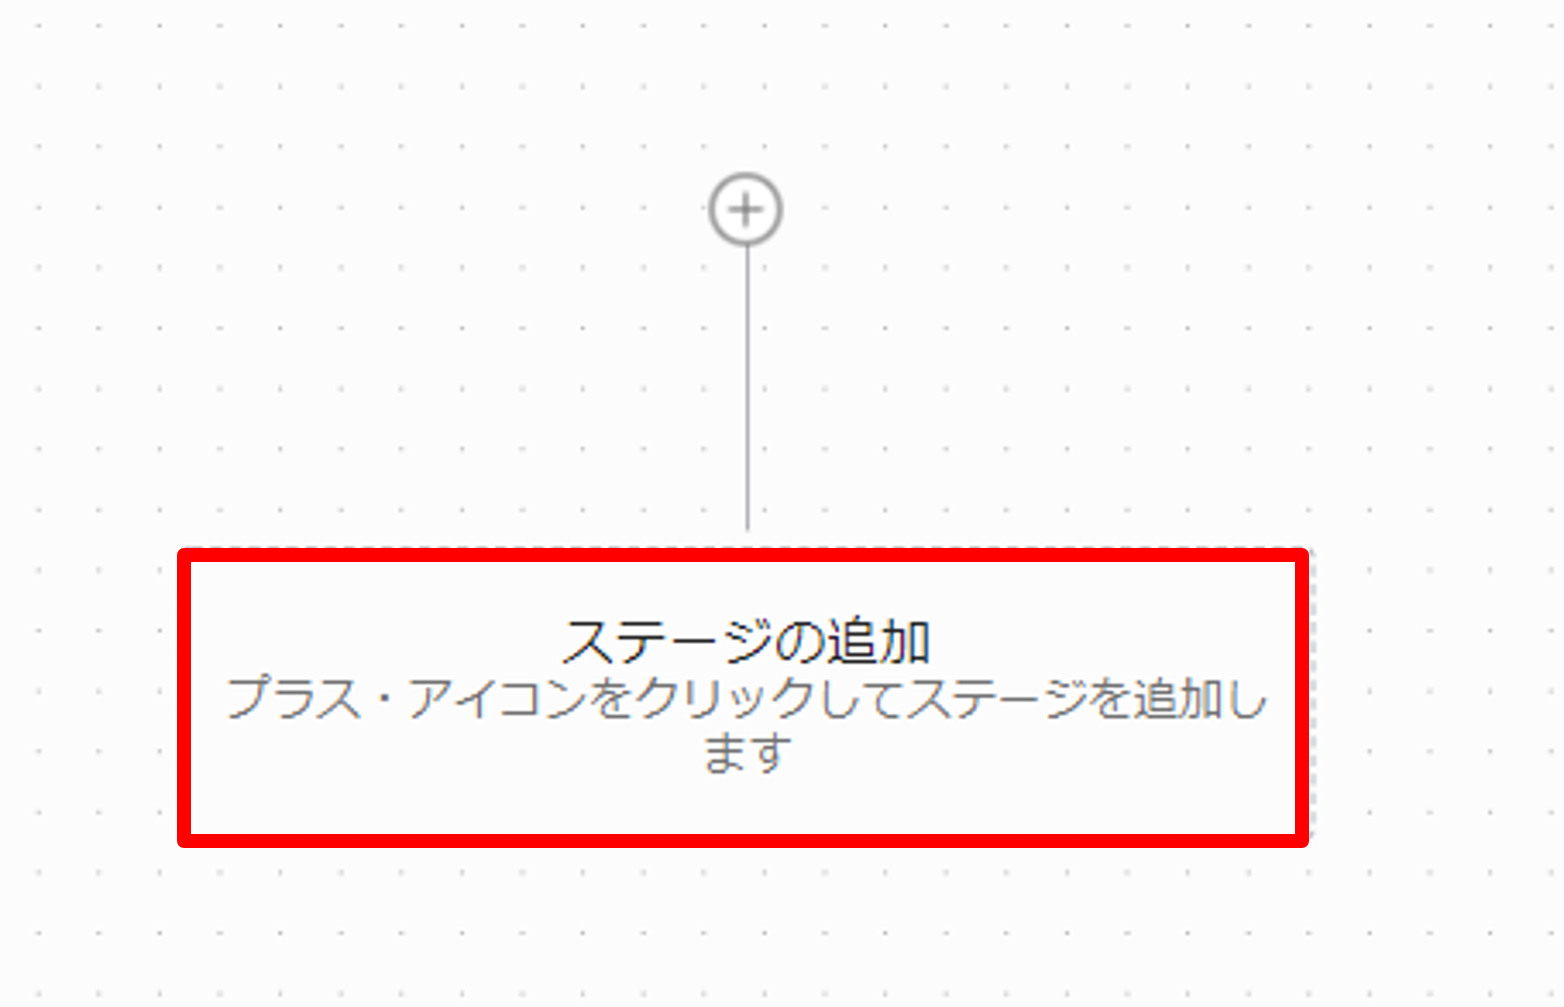
ステージの追加ボタンを押します。
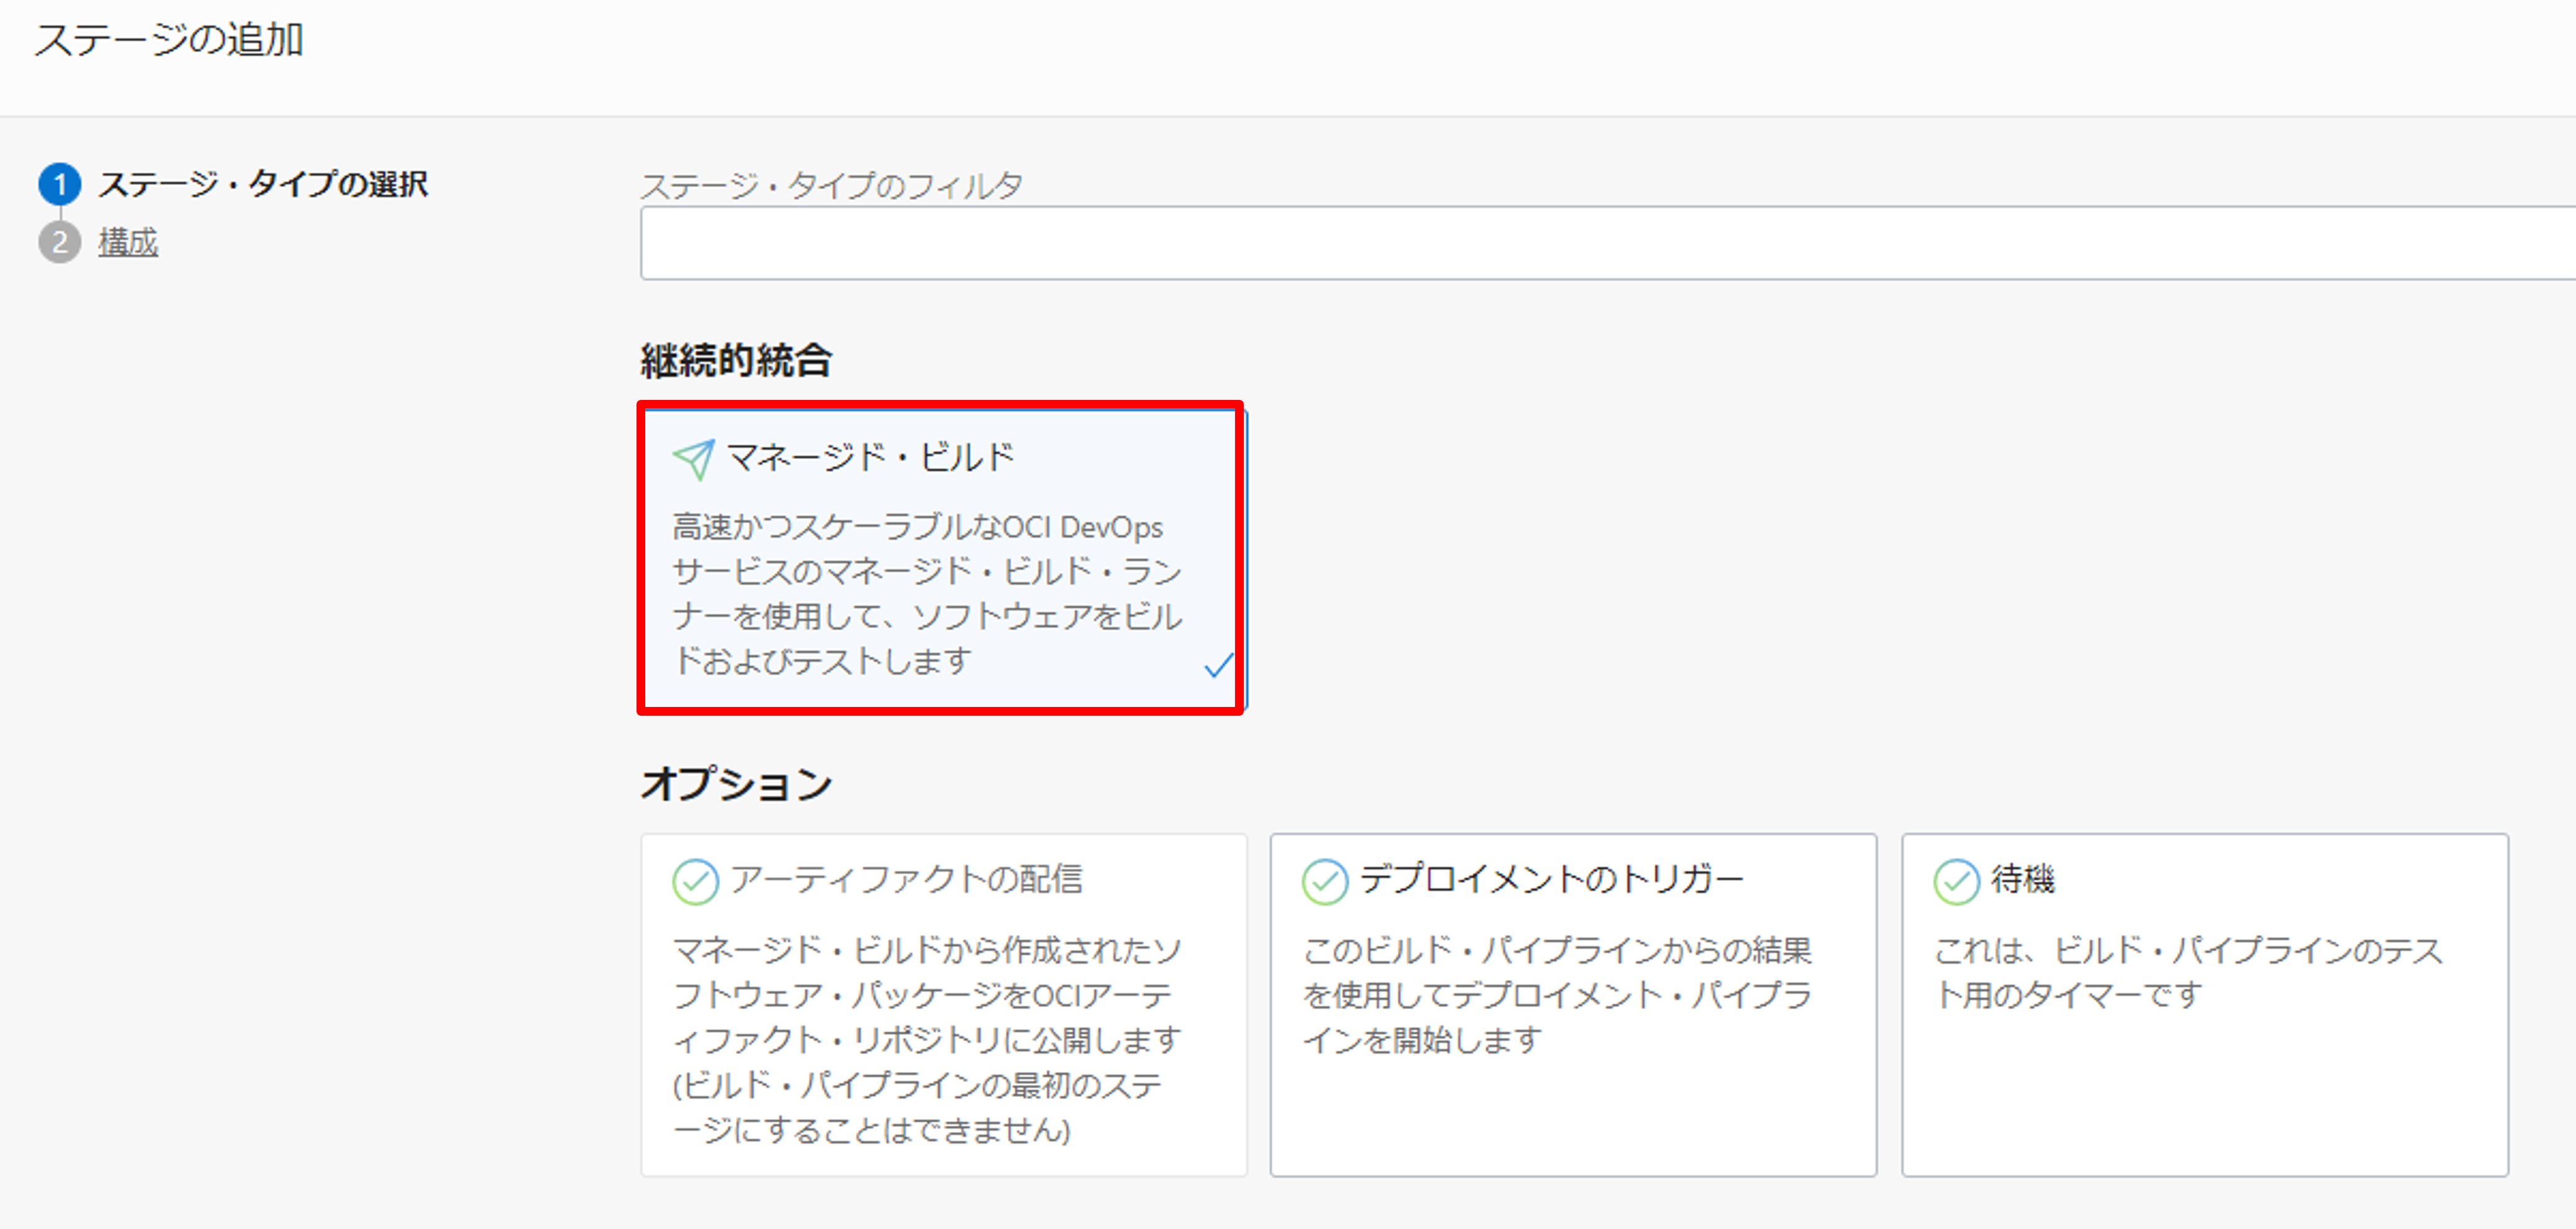
ステージ・タイプの選択で、マネージド・ビルドを選択し、次を押します。
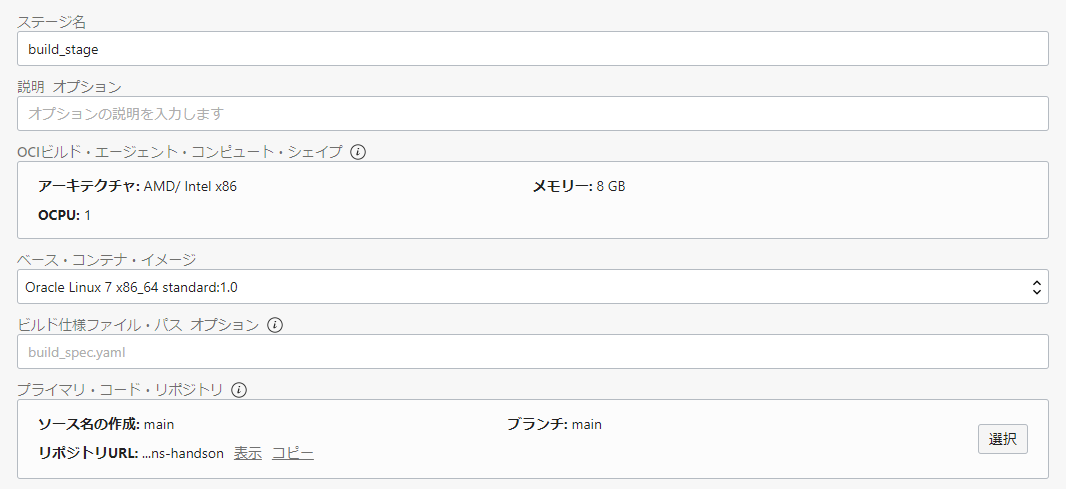
構成で、以下のように入力し追加をクリックします。(指定のない項目は、デフォルトのまま進めてください)
- ステージ名: build_stage
- ビルド仕様ファイル・パス: build_spec.yaml
- プライマリ・コード・リポジトリ
- 接続タイプ: OCI コード・リポジトリ
- oci-devops-functions-handson を選択
- ブランチの選択: main
- ソース名の作成: main
次に、**+**アイコンを押し、ステージの追加を押します。
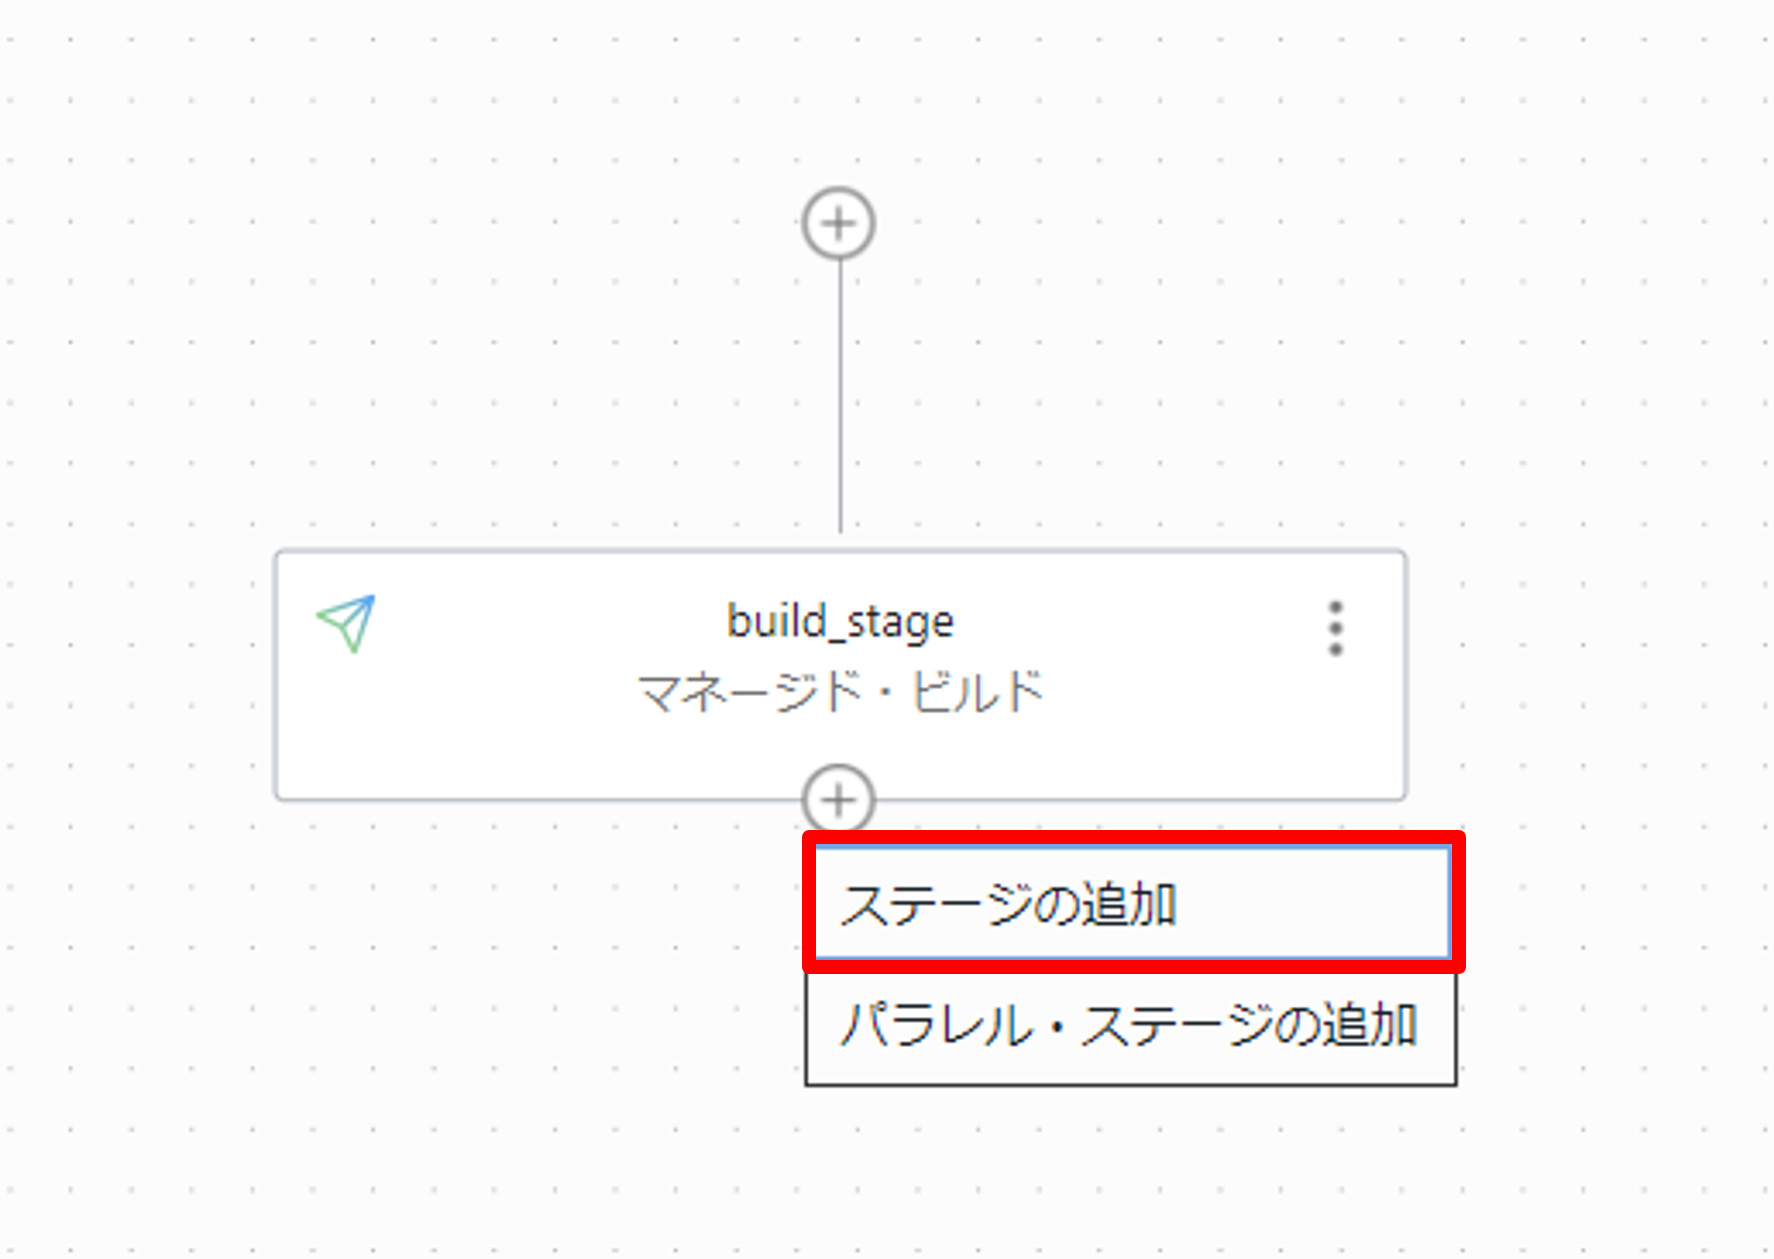
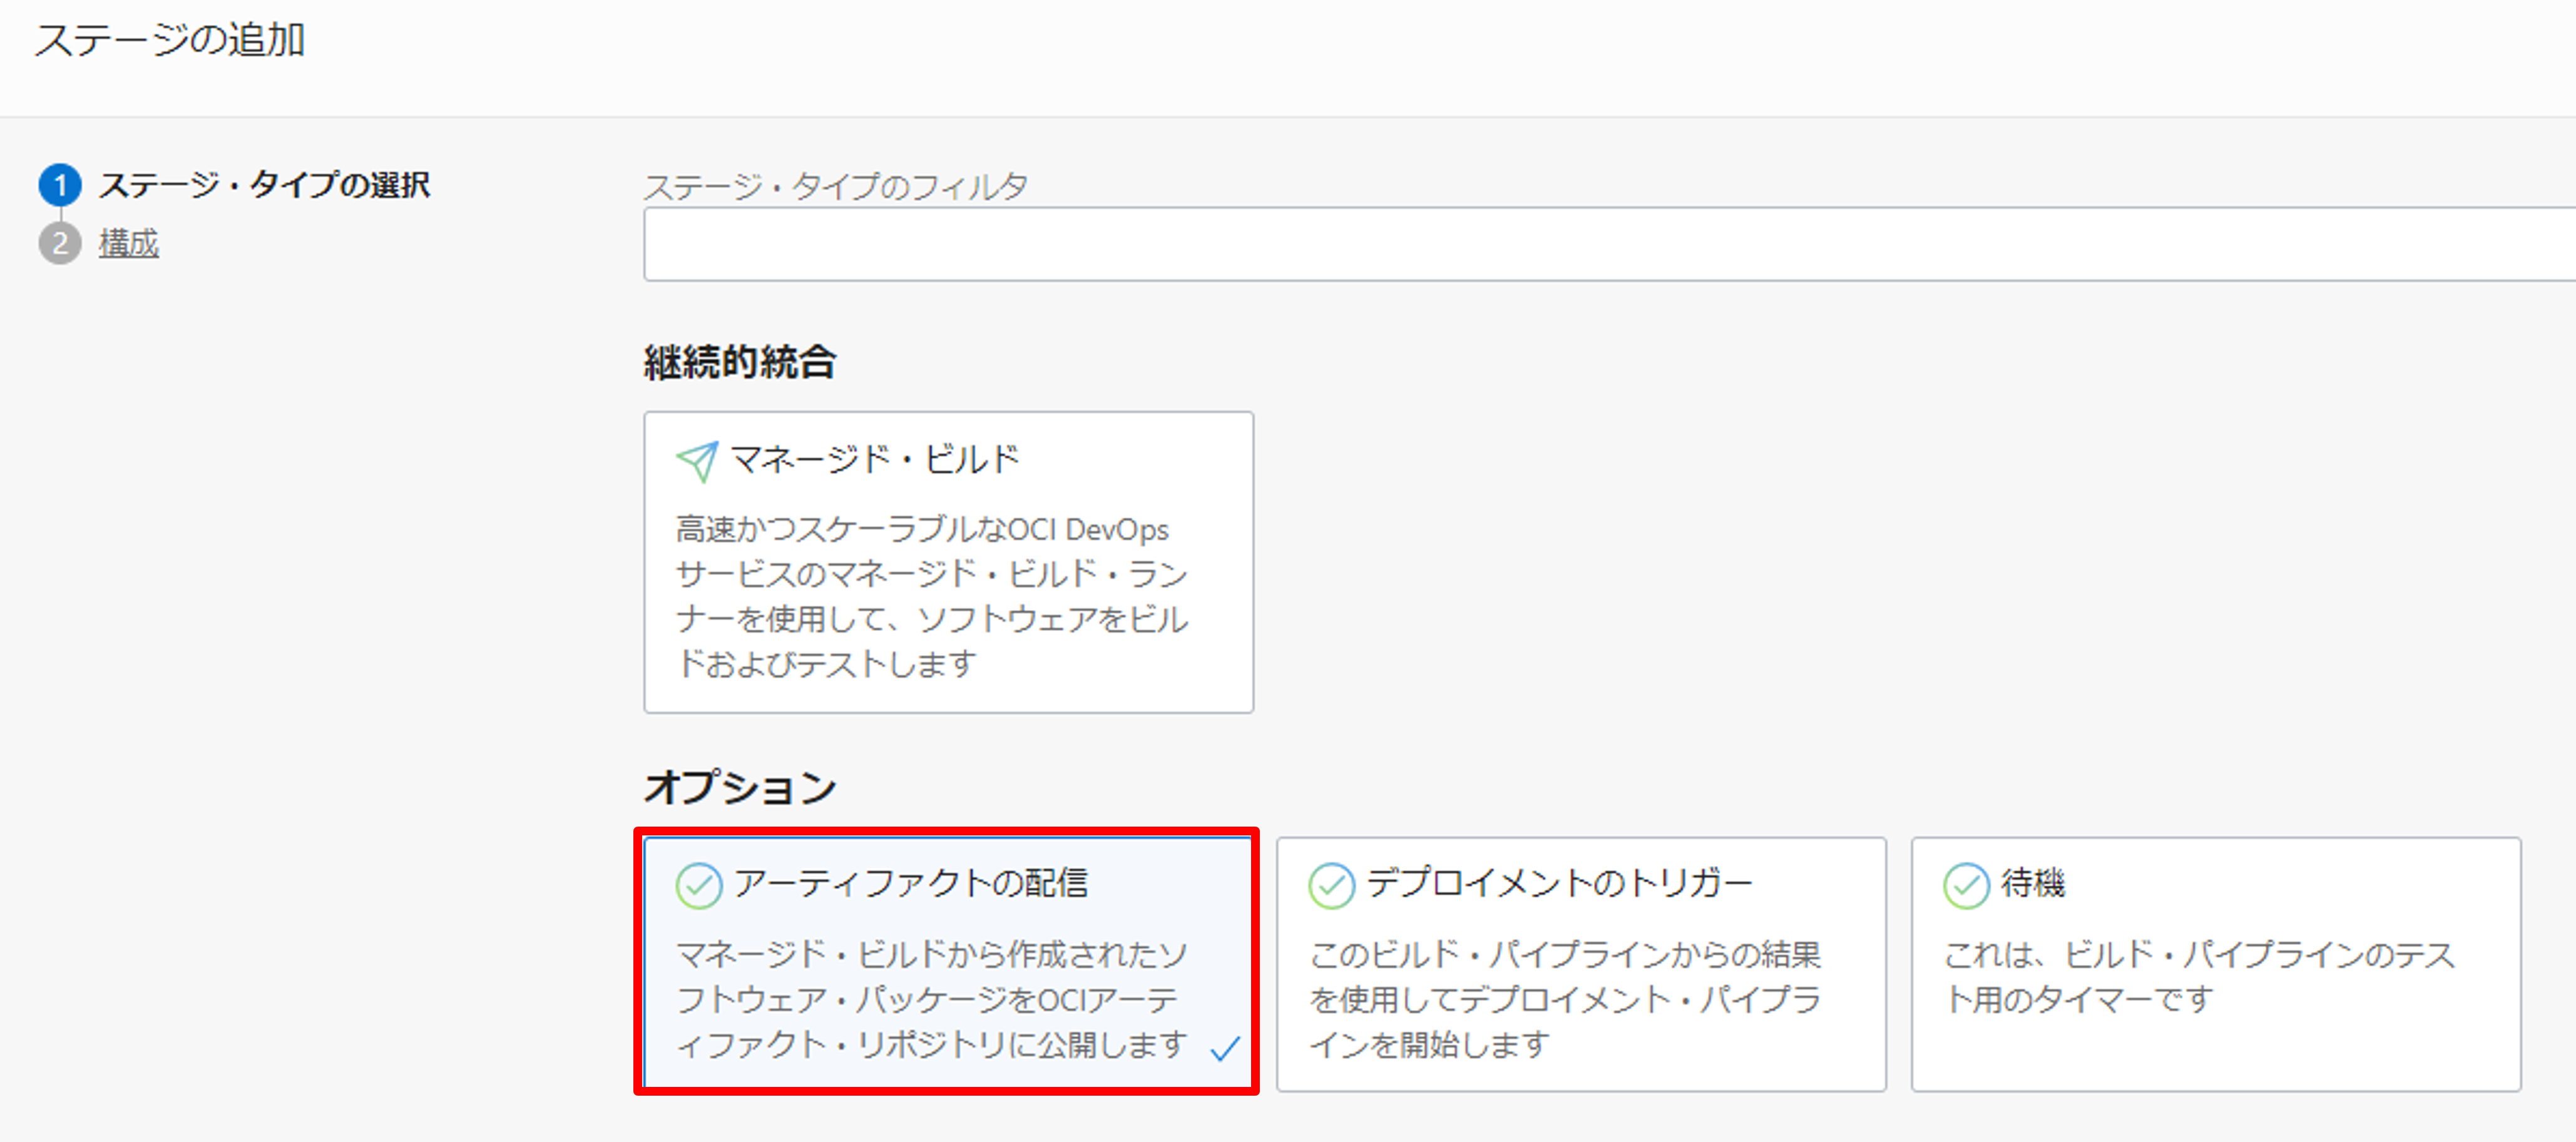
ステージ・タイプの選択で、アーティファクトの配信を選択し、次を押します。
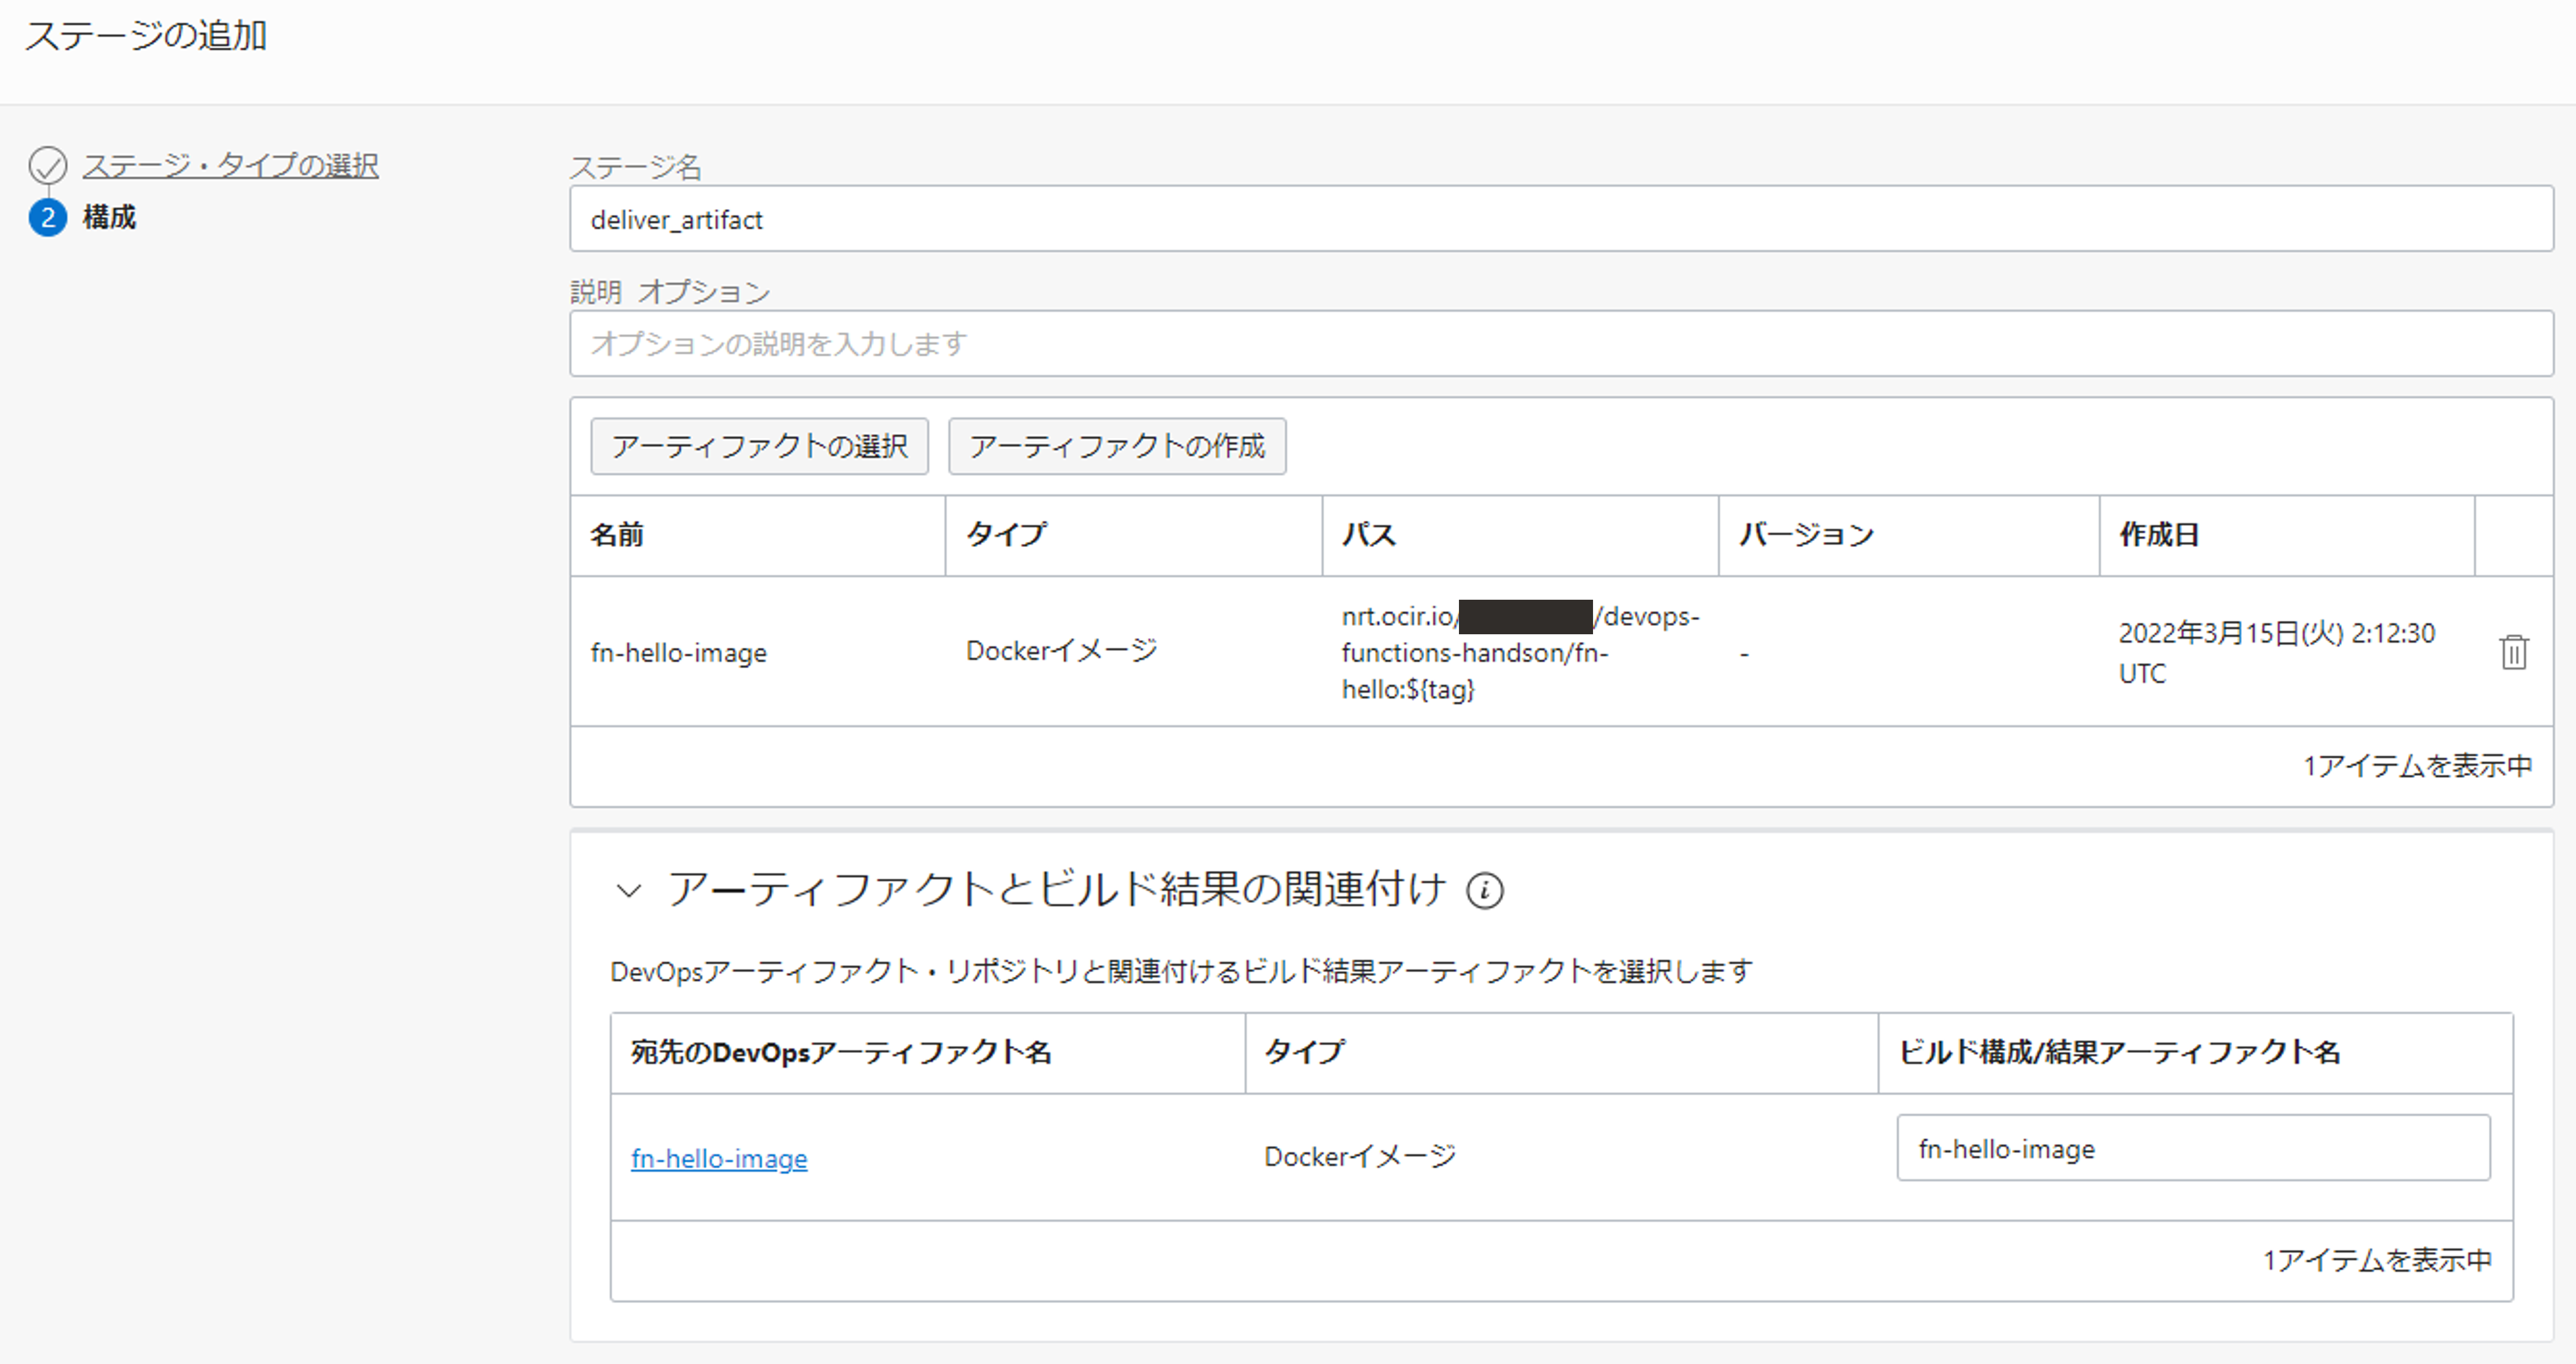
構成で以下のように入力し、追加をクリックします。(指定のない項目は、デフォルトのまま進めてください)
- ステージ名: deliver_artifact
- アーティファクトの作成
- 名前: fn-hello-image
- タイプ: コンテナ・イメージ・リポジトリ
- コンテナレジストリの完全修飾パス: <region>.ocir.io/<object-storage-namespace>/devops-functions-handson/fn-hello:${tag}
- パラメーターの置き換え: はい、プレースホルダーを置き換えます
- ビルド構成/結果アーティファクト名: fn-hello-image
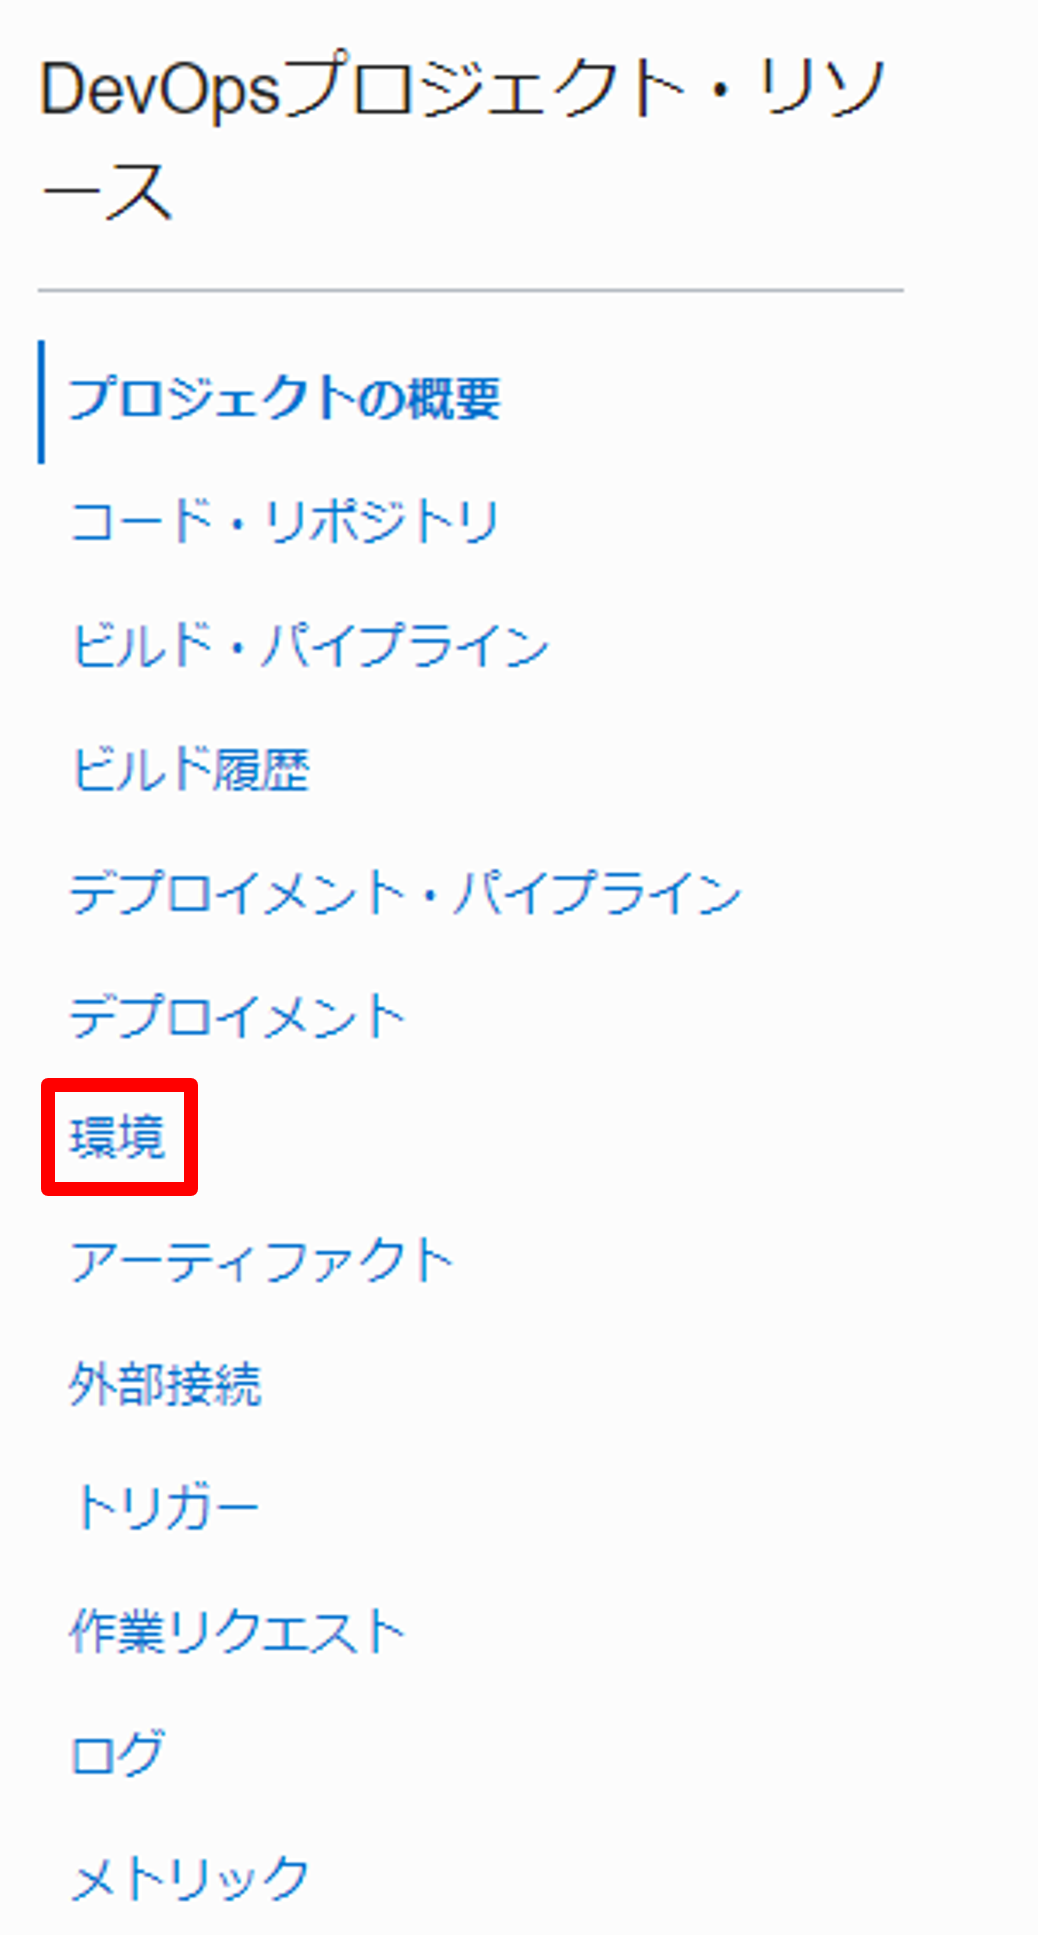
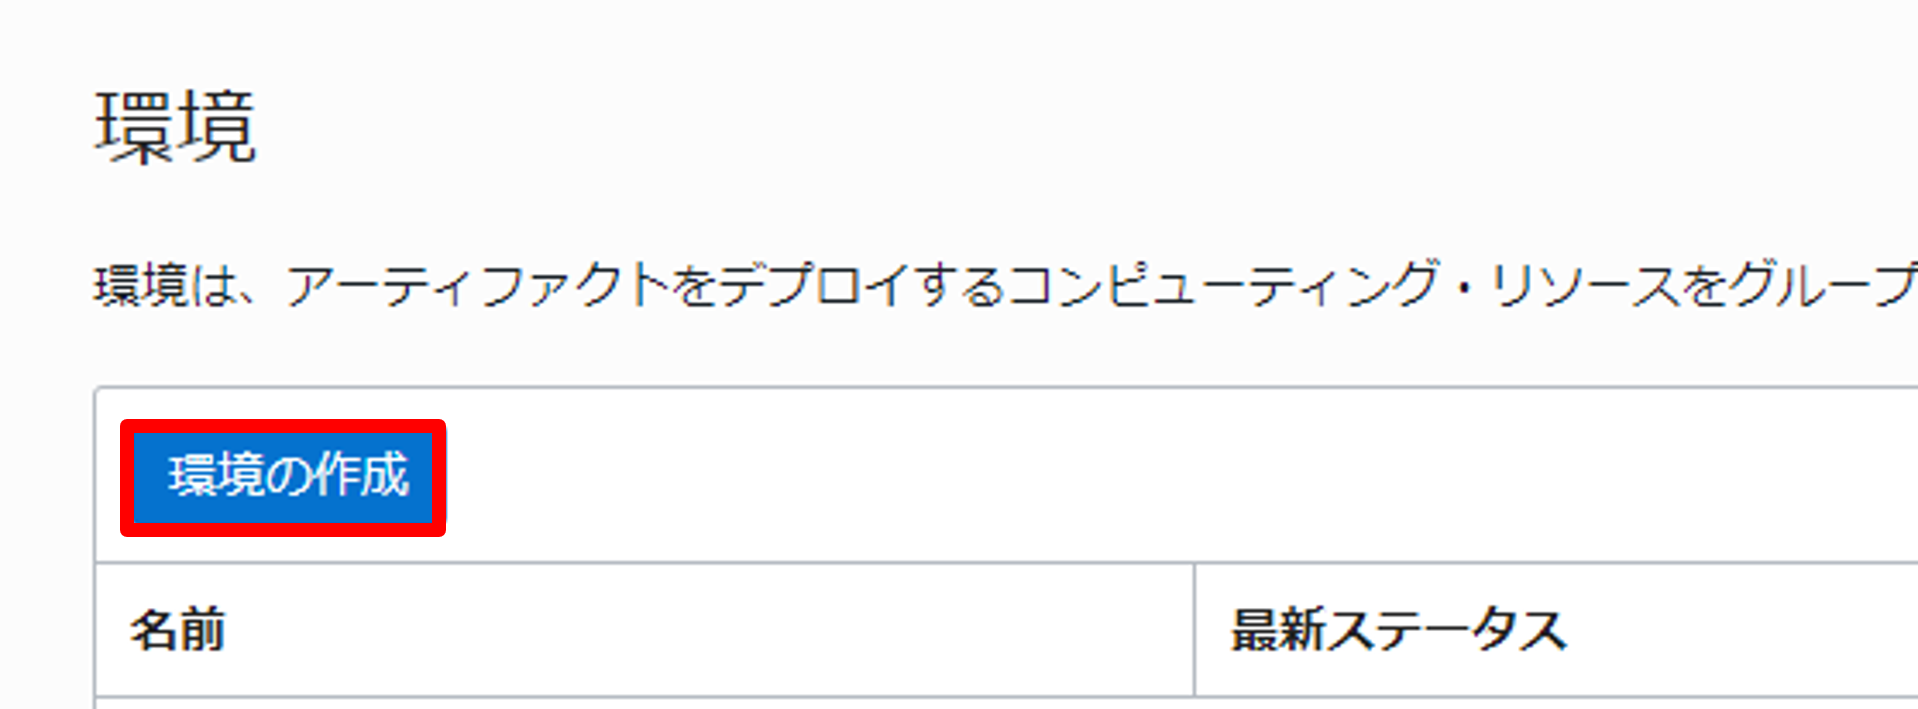
ビルド・パイプラインで生成されたアーティファクトの配布先(=環境)を作成します。 まずは、作成した DevOps プロジェクト(oci-devops-handson)の詳細画面で環境を選択します。
環境の作成を押します。
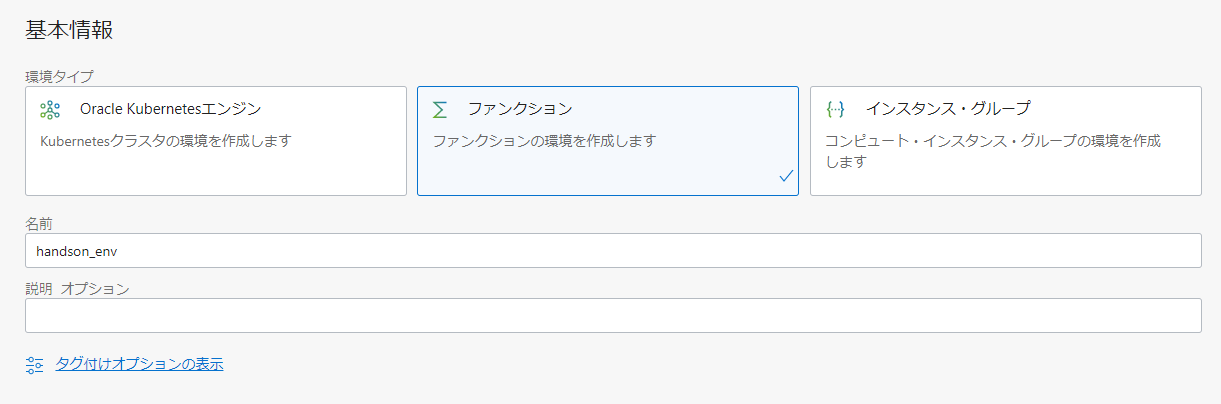
基本情報で以下のように入力します。
- 環境タイプ: ファンクション
- 名前: handson_env
環境詳細で以下のように入力し、環境を作成します。(指定のない項目は、デフォルトのまま進めてください)
- アプリケーション: oci-devops-handson-app
- ファンクション: fn-hello
作成した DevOps プロジェクト(oci-devops-handson)の詳細画面でデプロイメント・パイプラインを選択します。
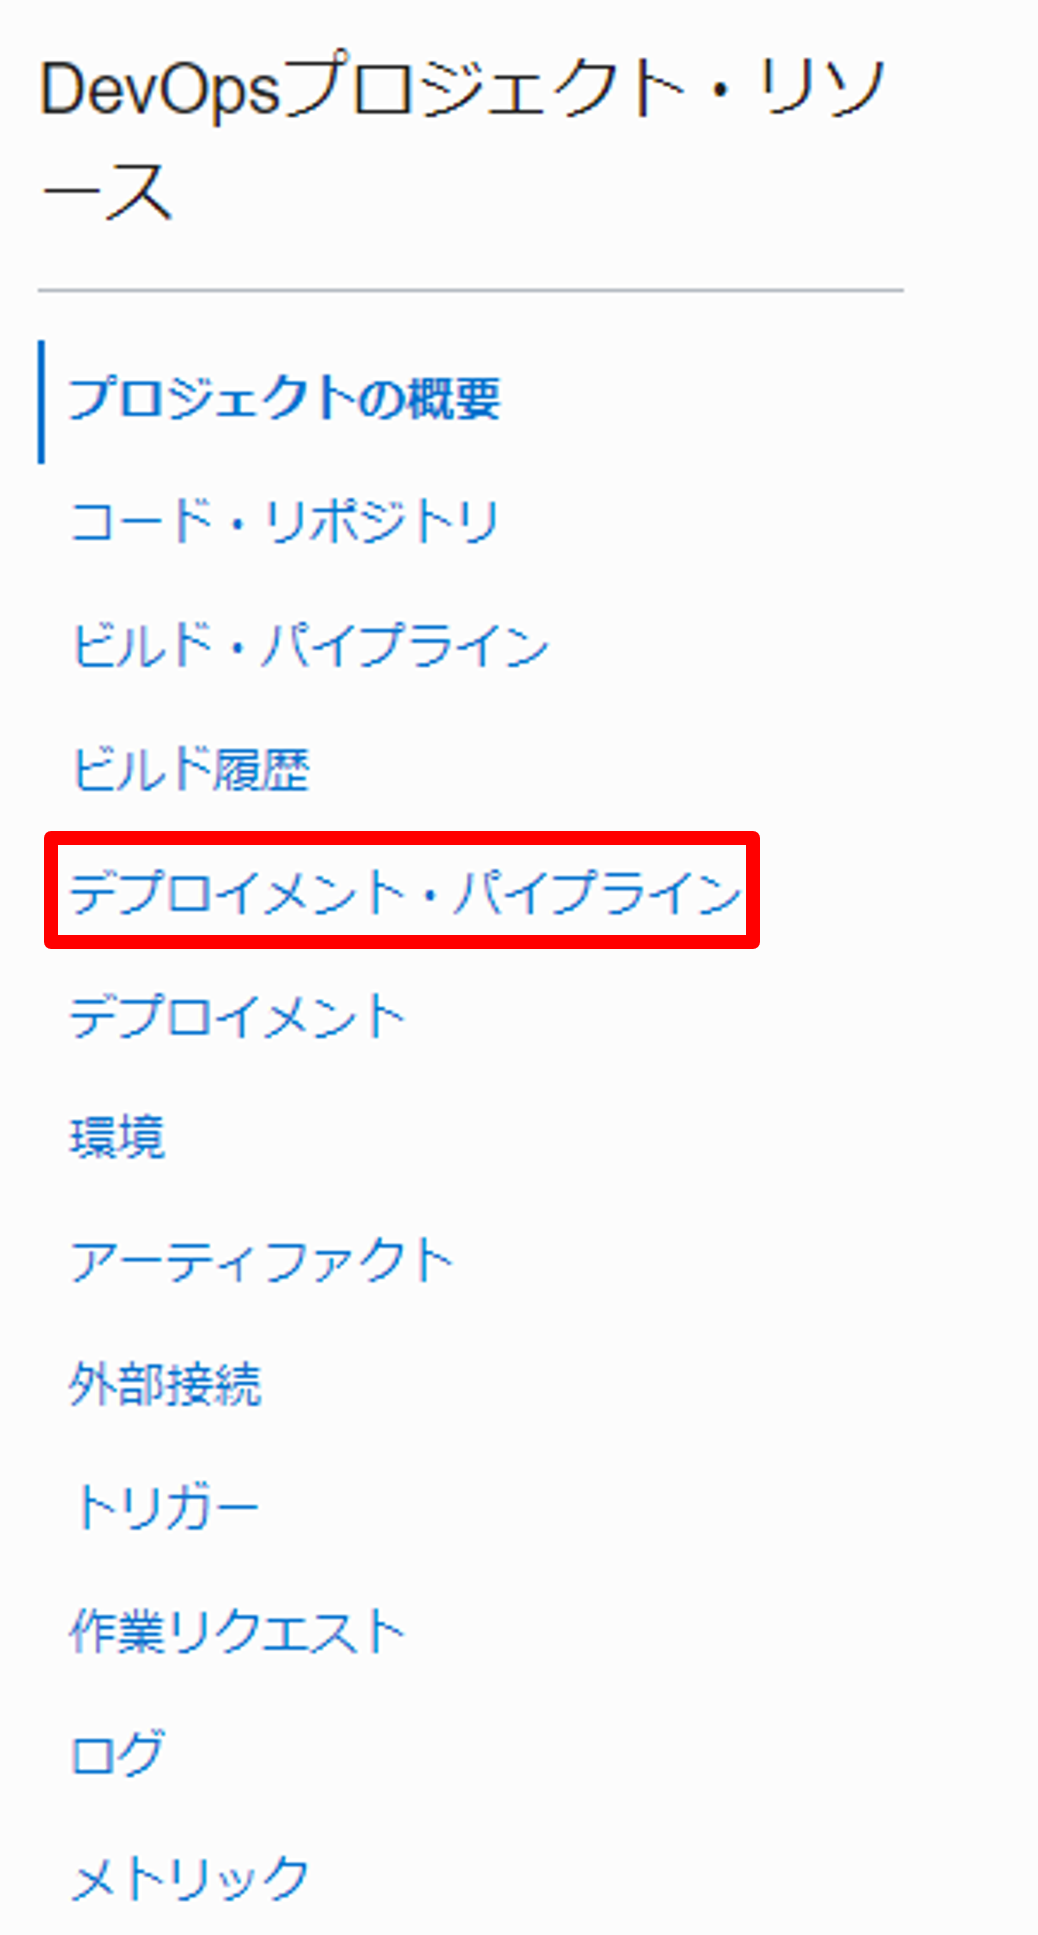
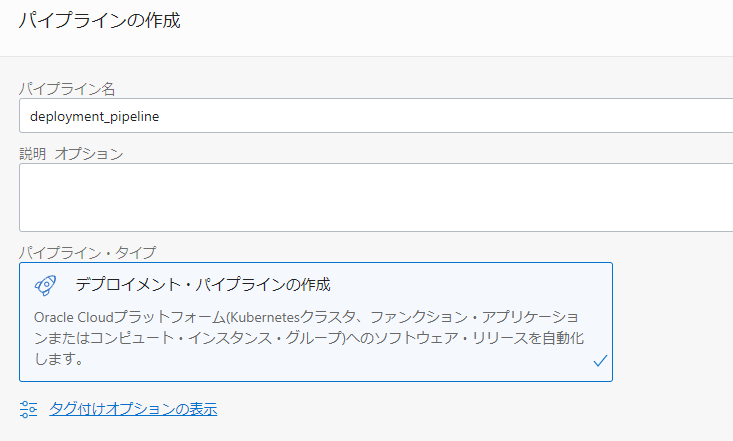
パイプラインの作成を押します。
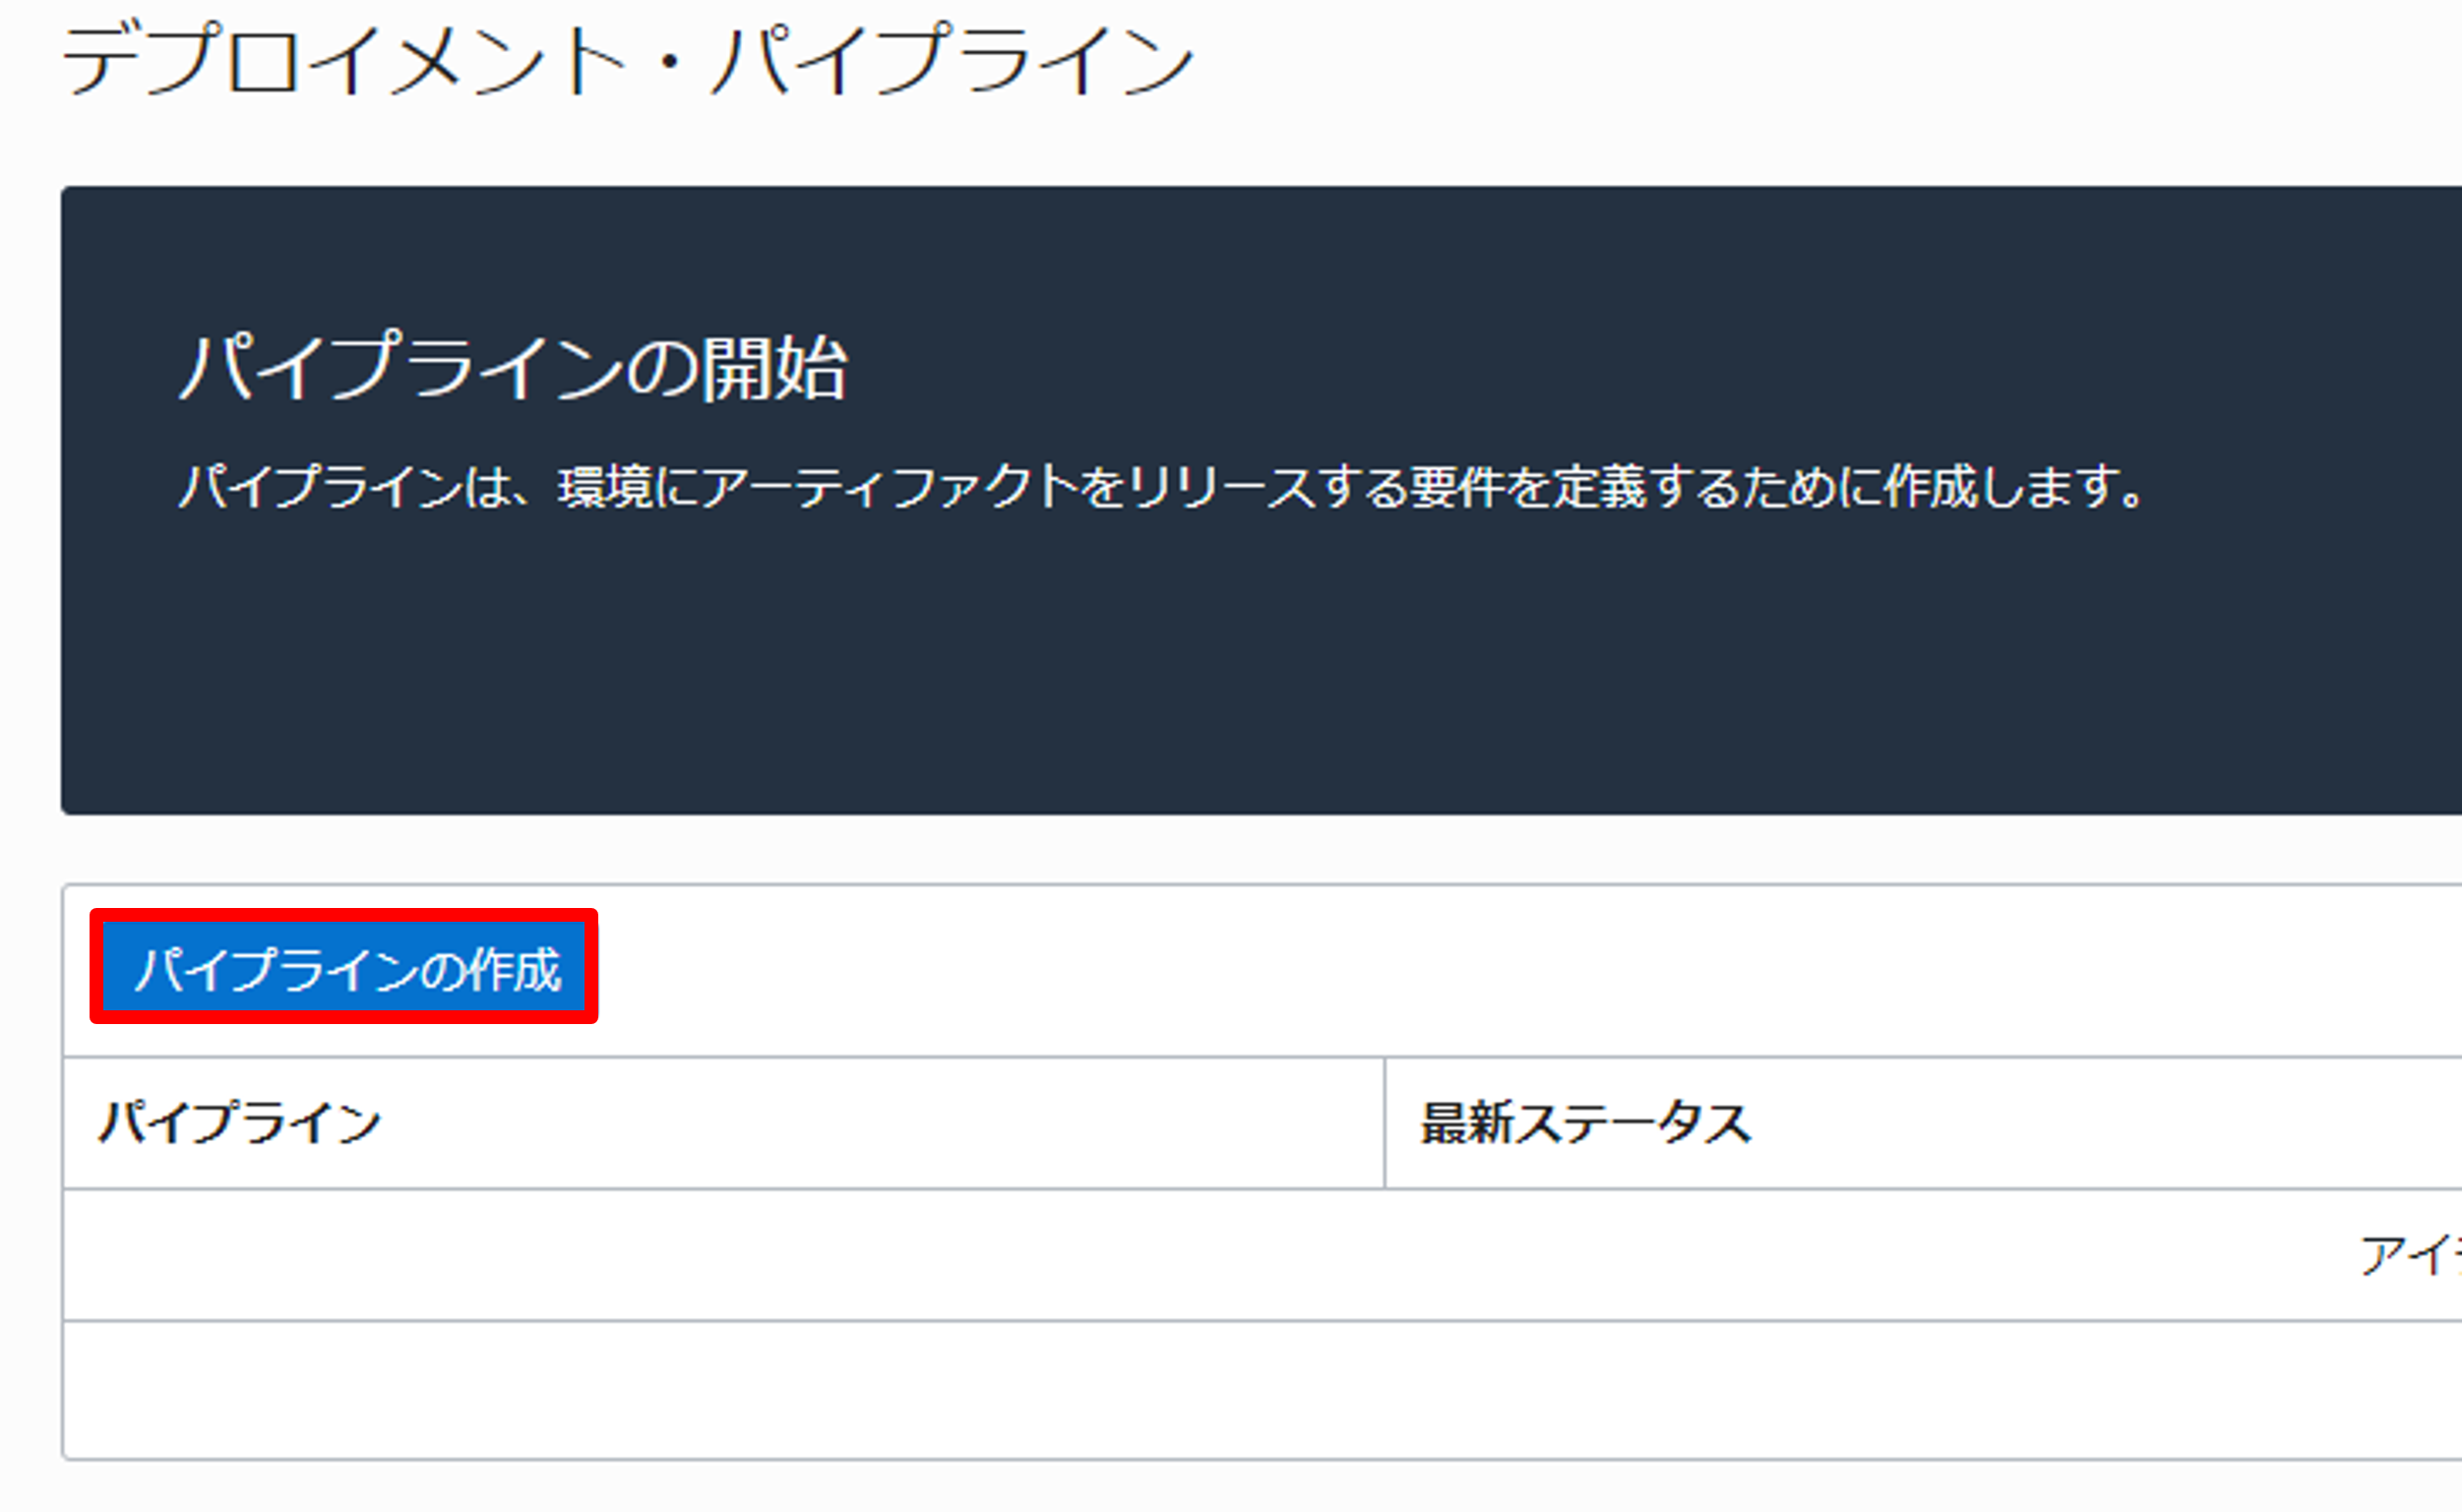
以下のように入力し、パイプラインを作成します。
- パイプライン名: deployment_pipeline
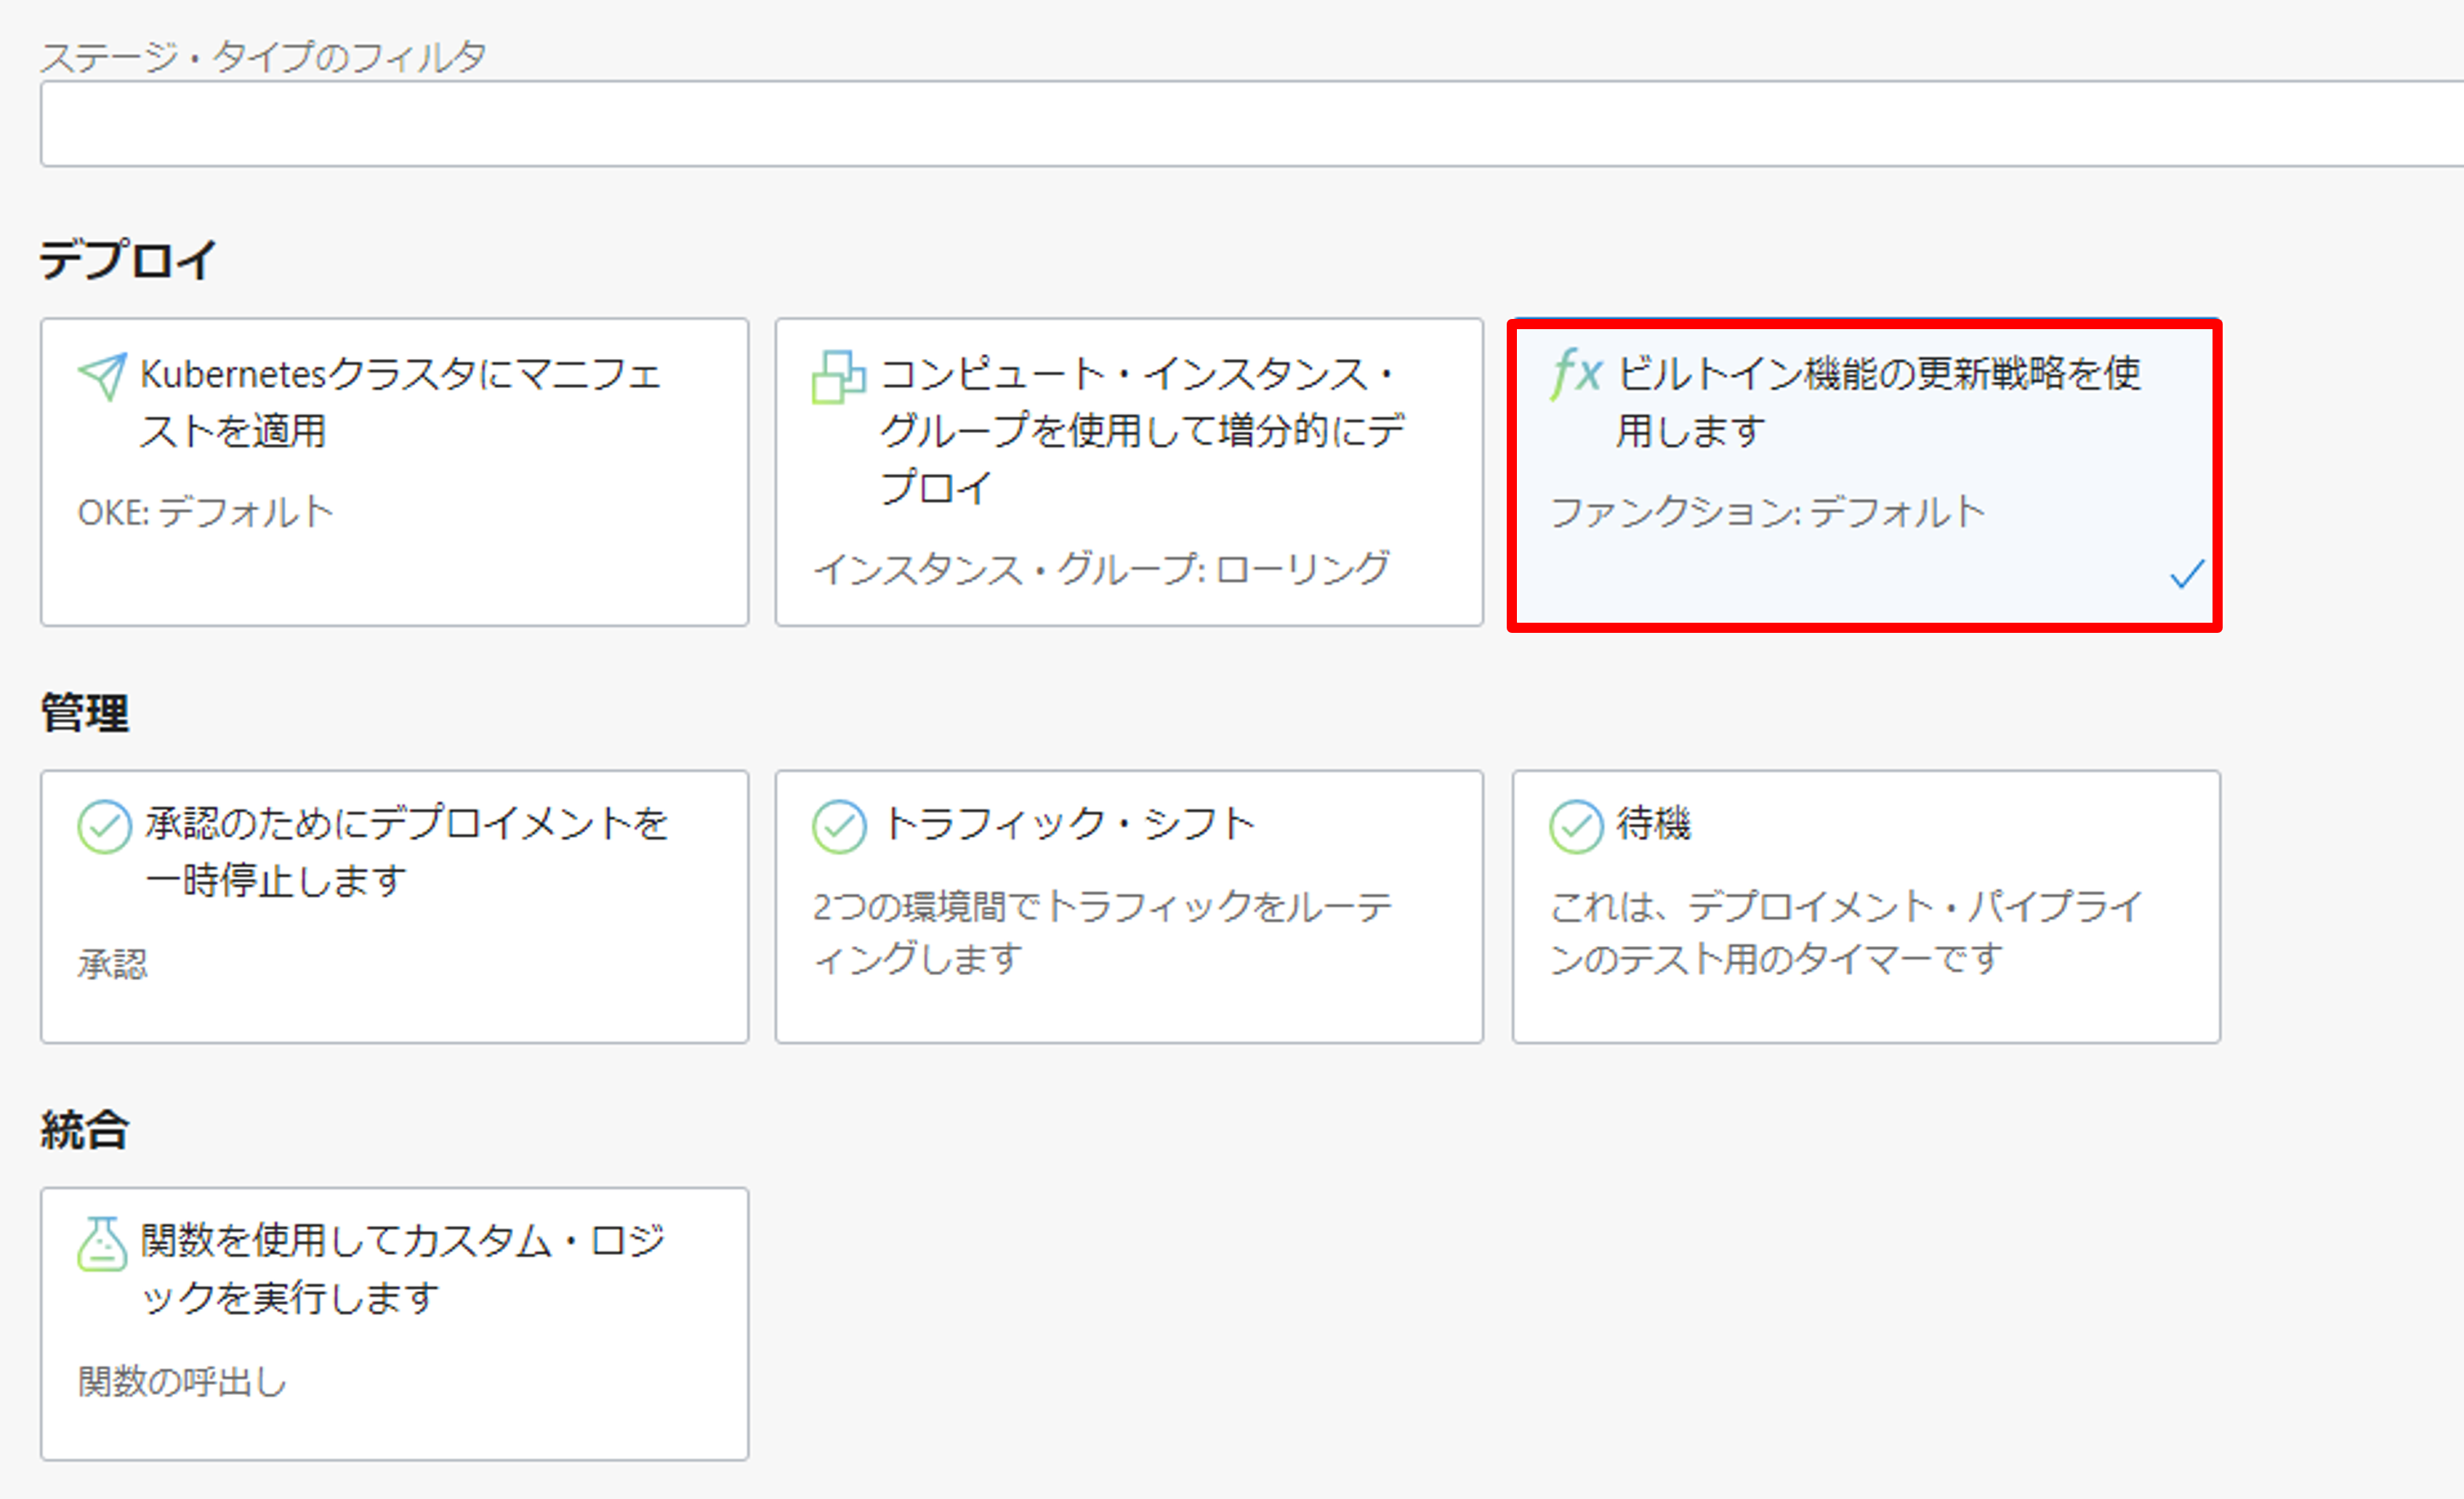
ステージの追加を押します。
タイプの選択で、ビルトイン機能の更新戦略を使用します選択します。
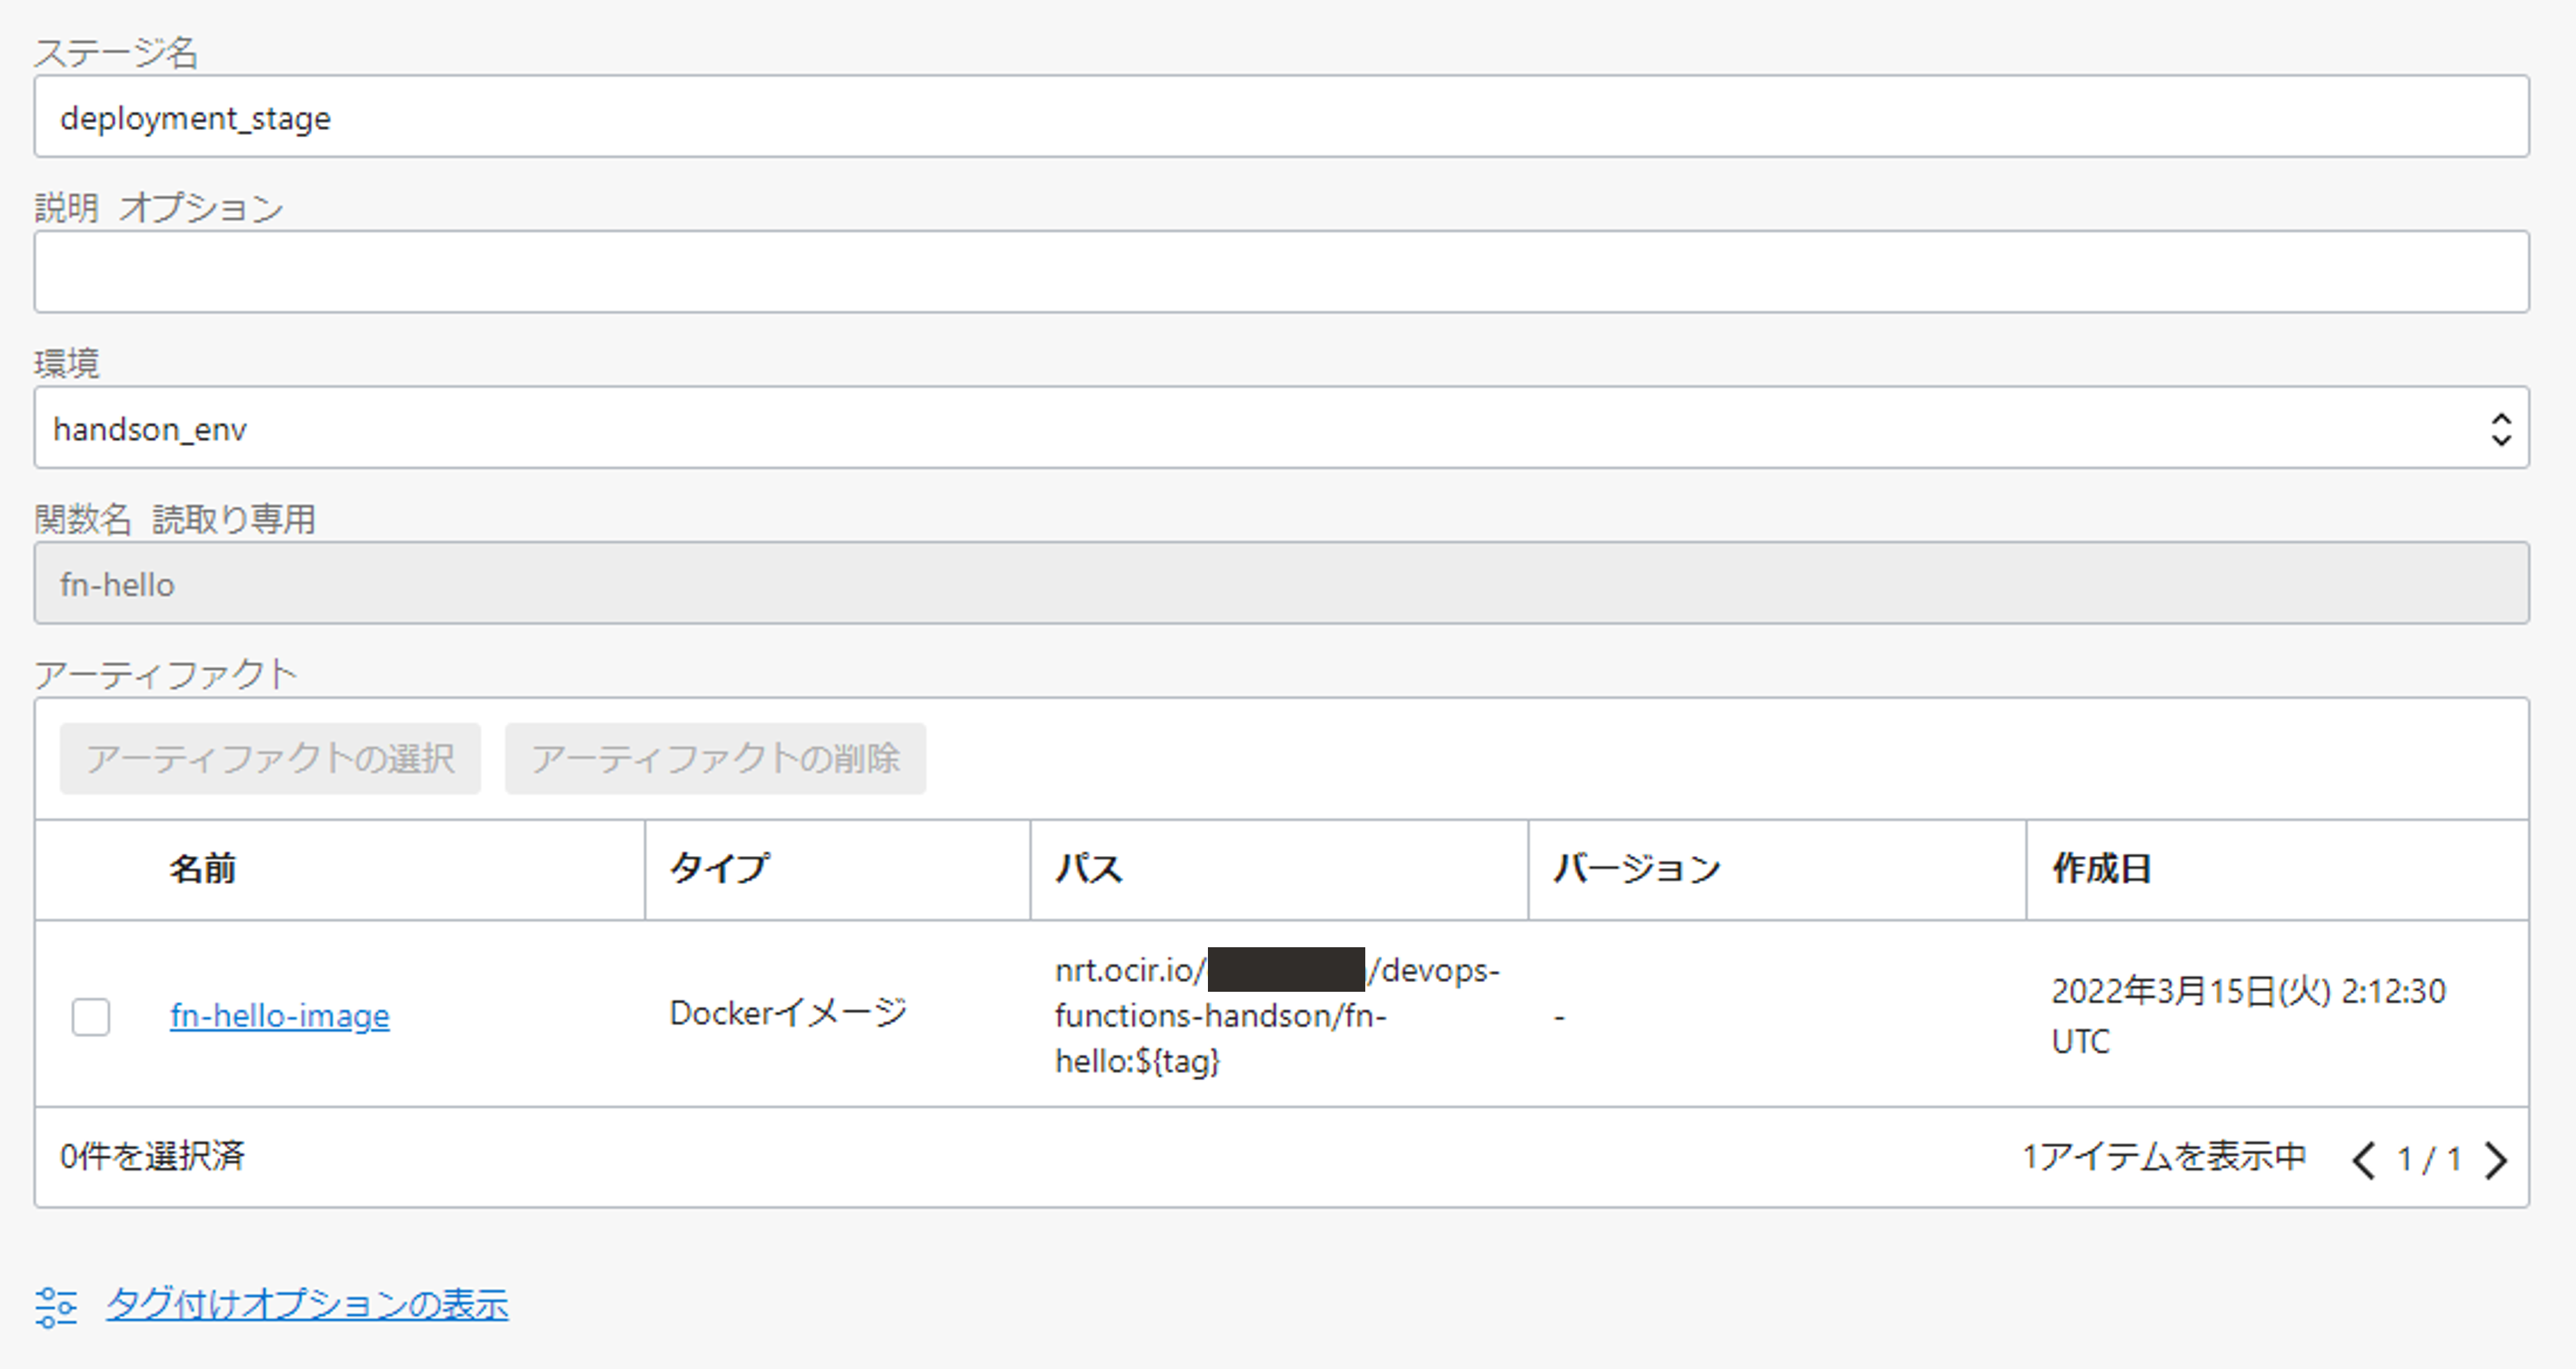
構成で以下のように入力し、ステージを作成します。
- ステージ名: deployment_stage
- 環境: handson_env
- アーティファクトの選択: fn-hello-image
ビルド・パイプラインとデプロイメント・パイプラインの連携設定を行います。作成した DevOps プロジェクト(oci-devops-handson)の詳細画面でビルド・パイプラインを選択します。
作成済みのビルド・パイプライン(build_pipeline)を選択します。deliver_artifact に対して、ステージの追加を選択します。
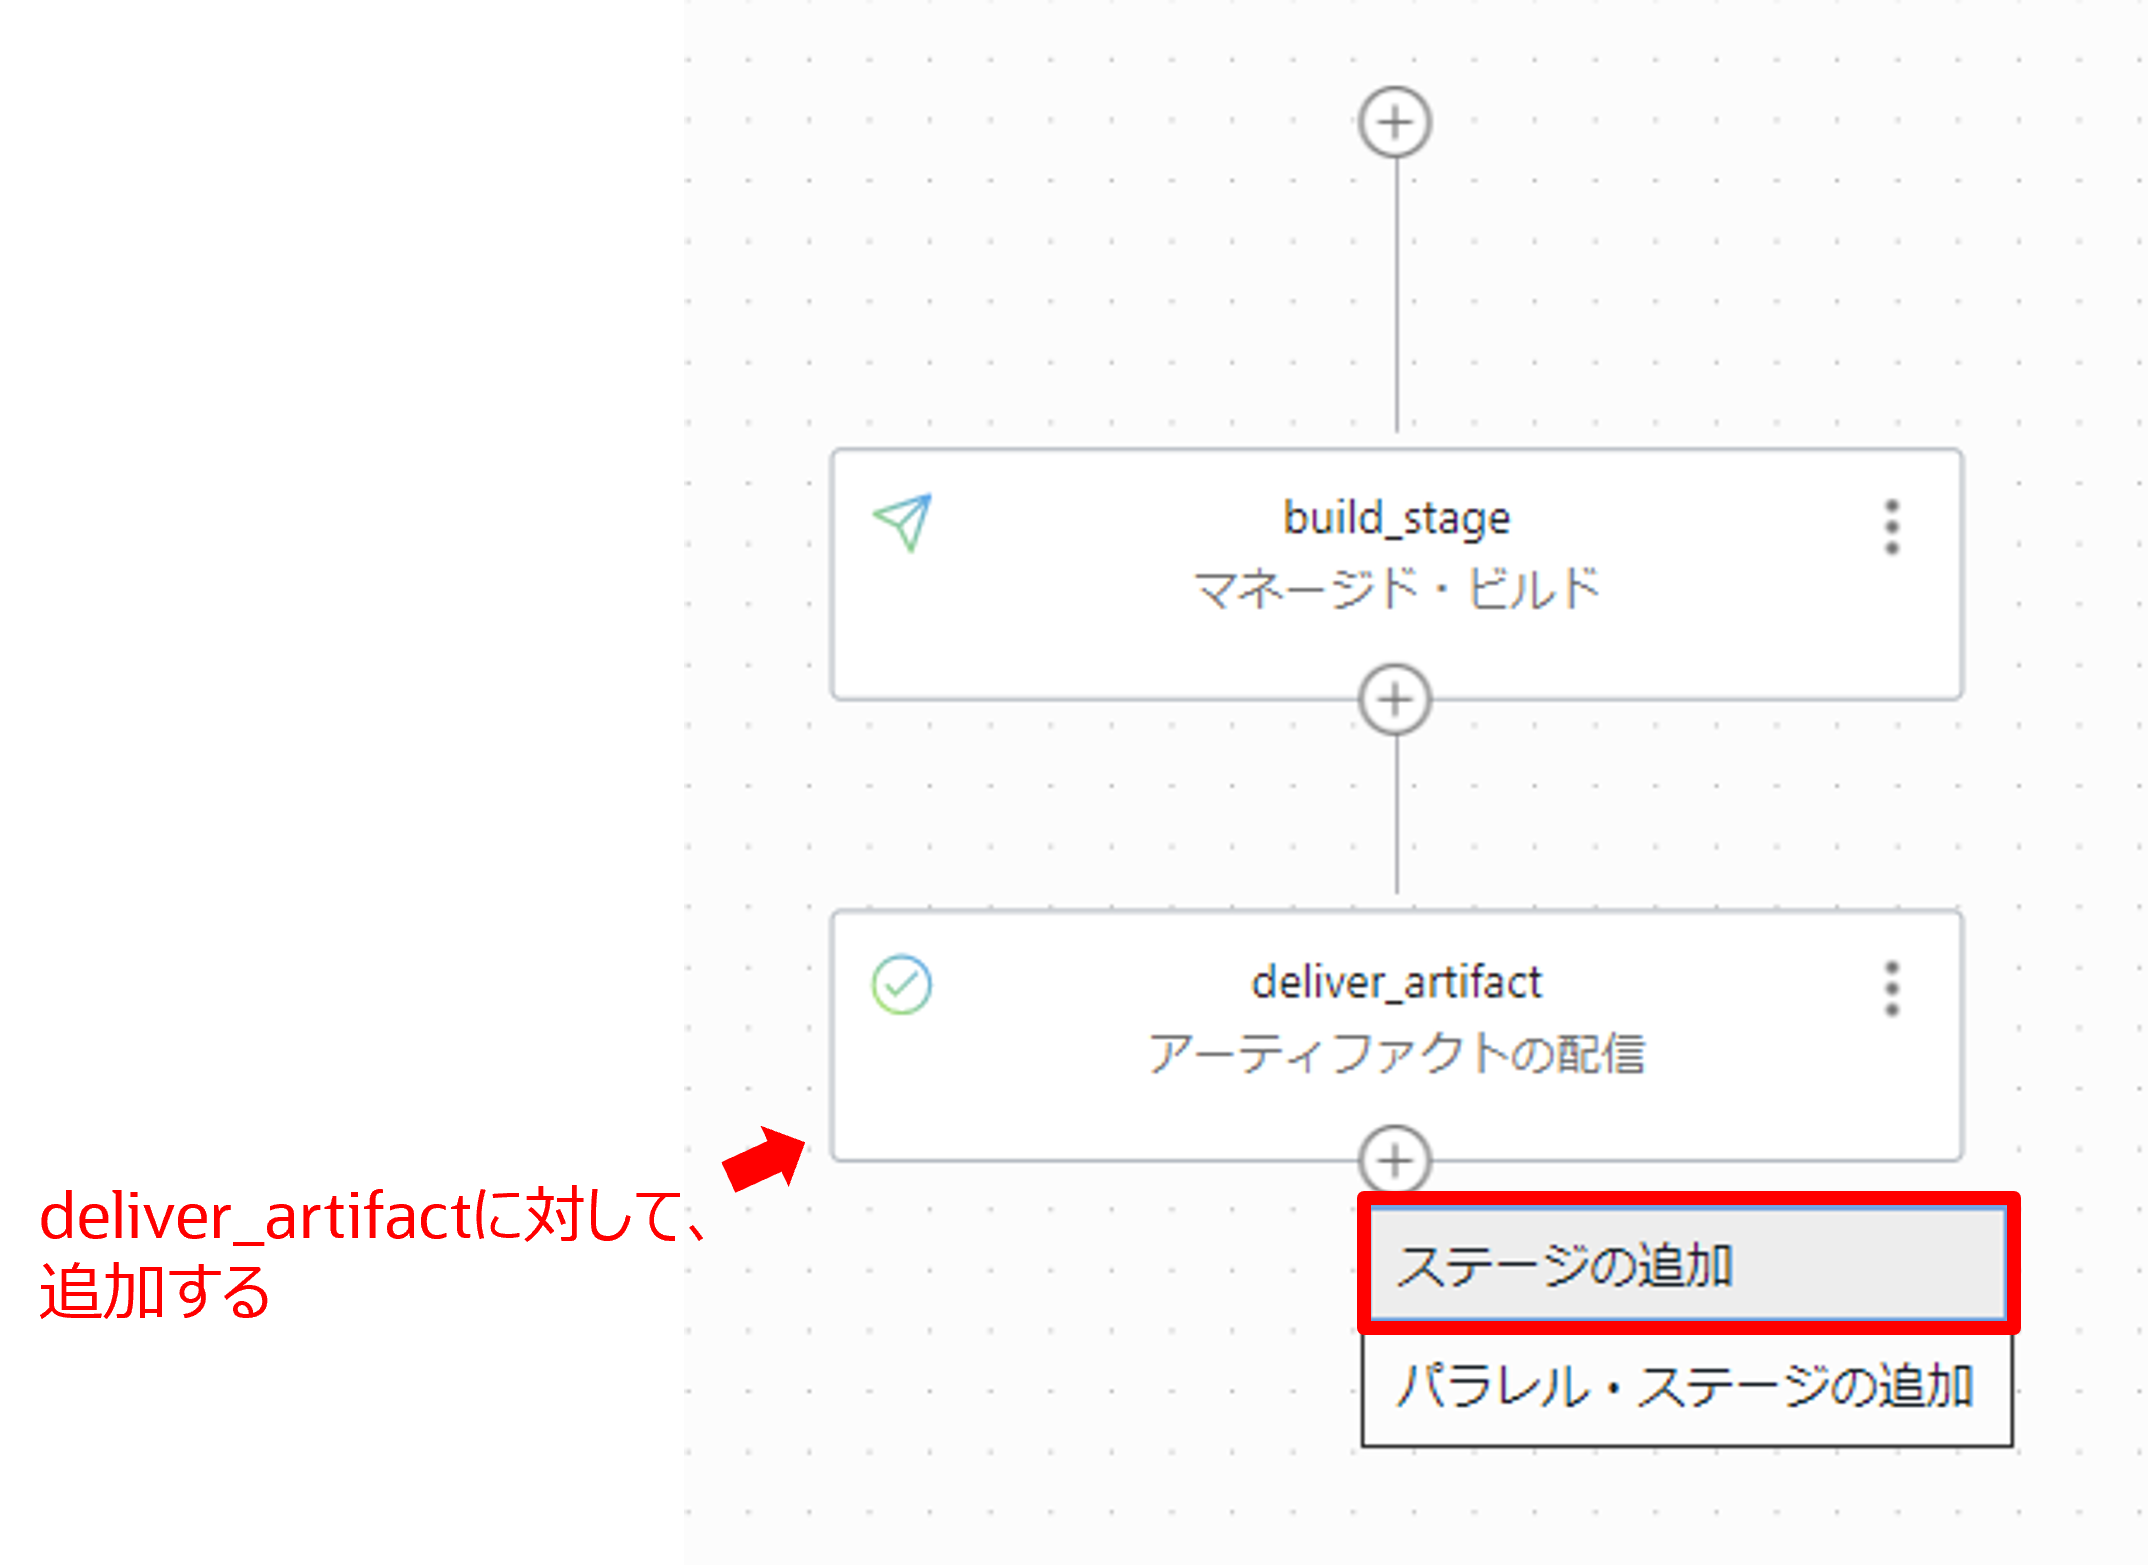
ステージ・タイプの選択でデプロイメントのトリガーを選択します。
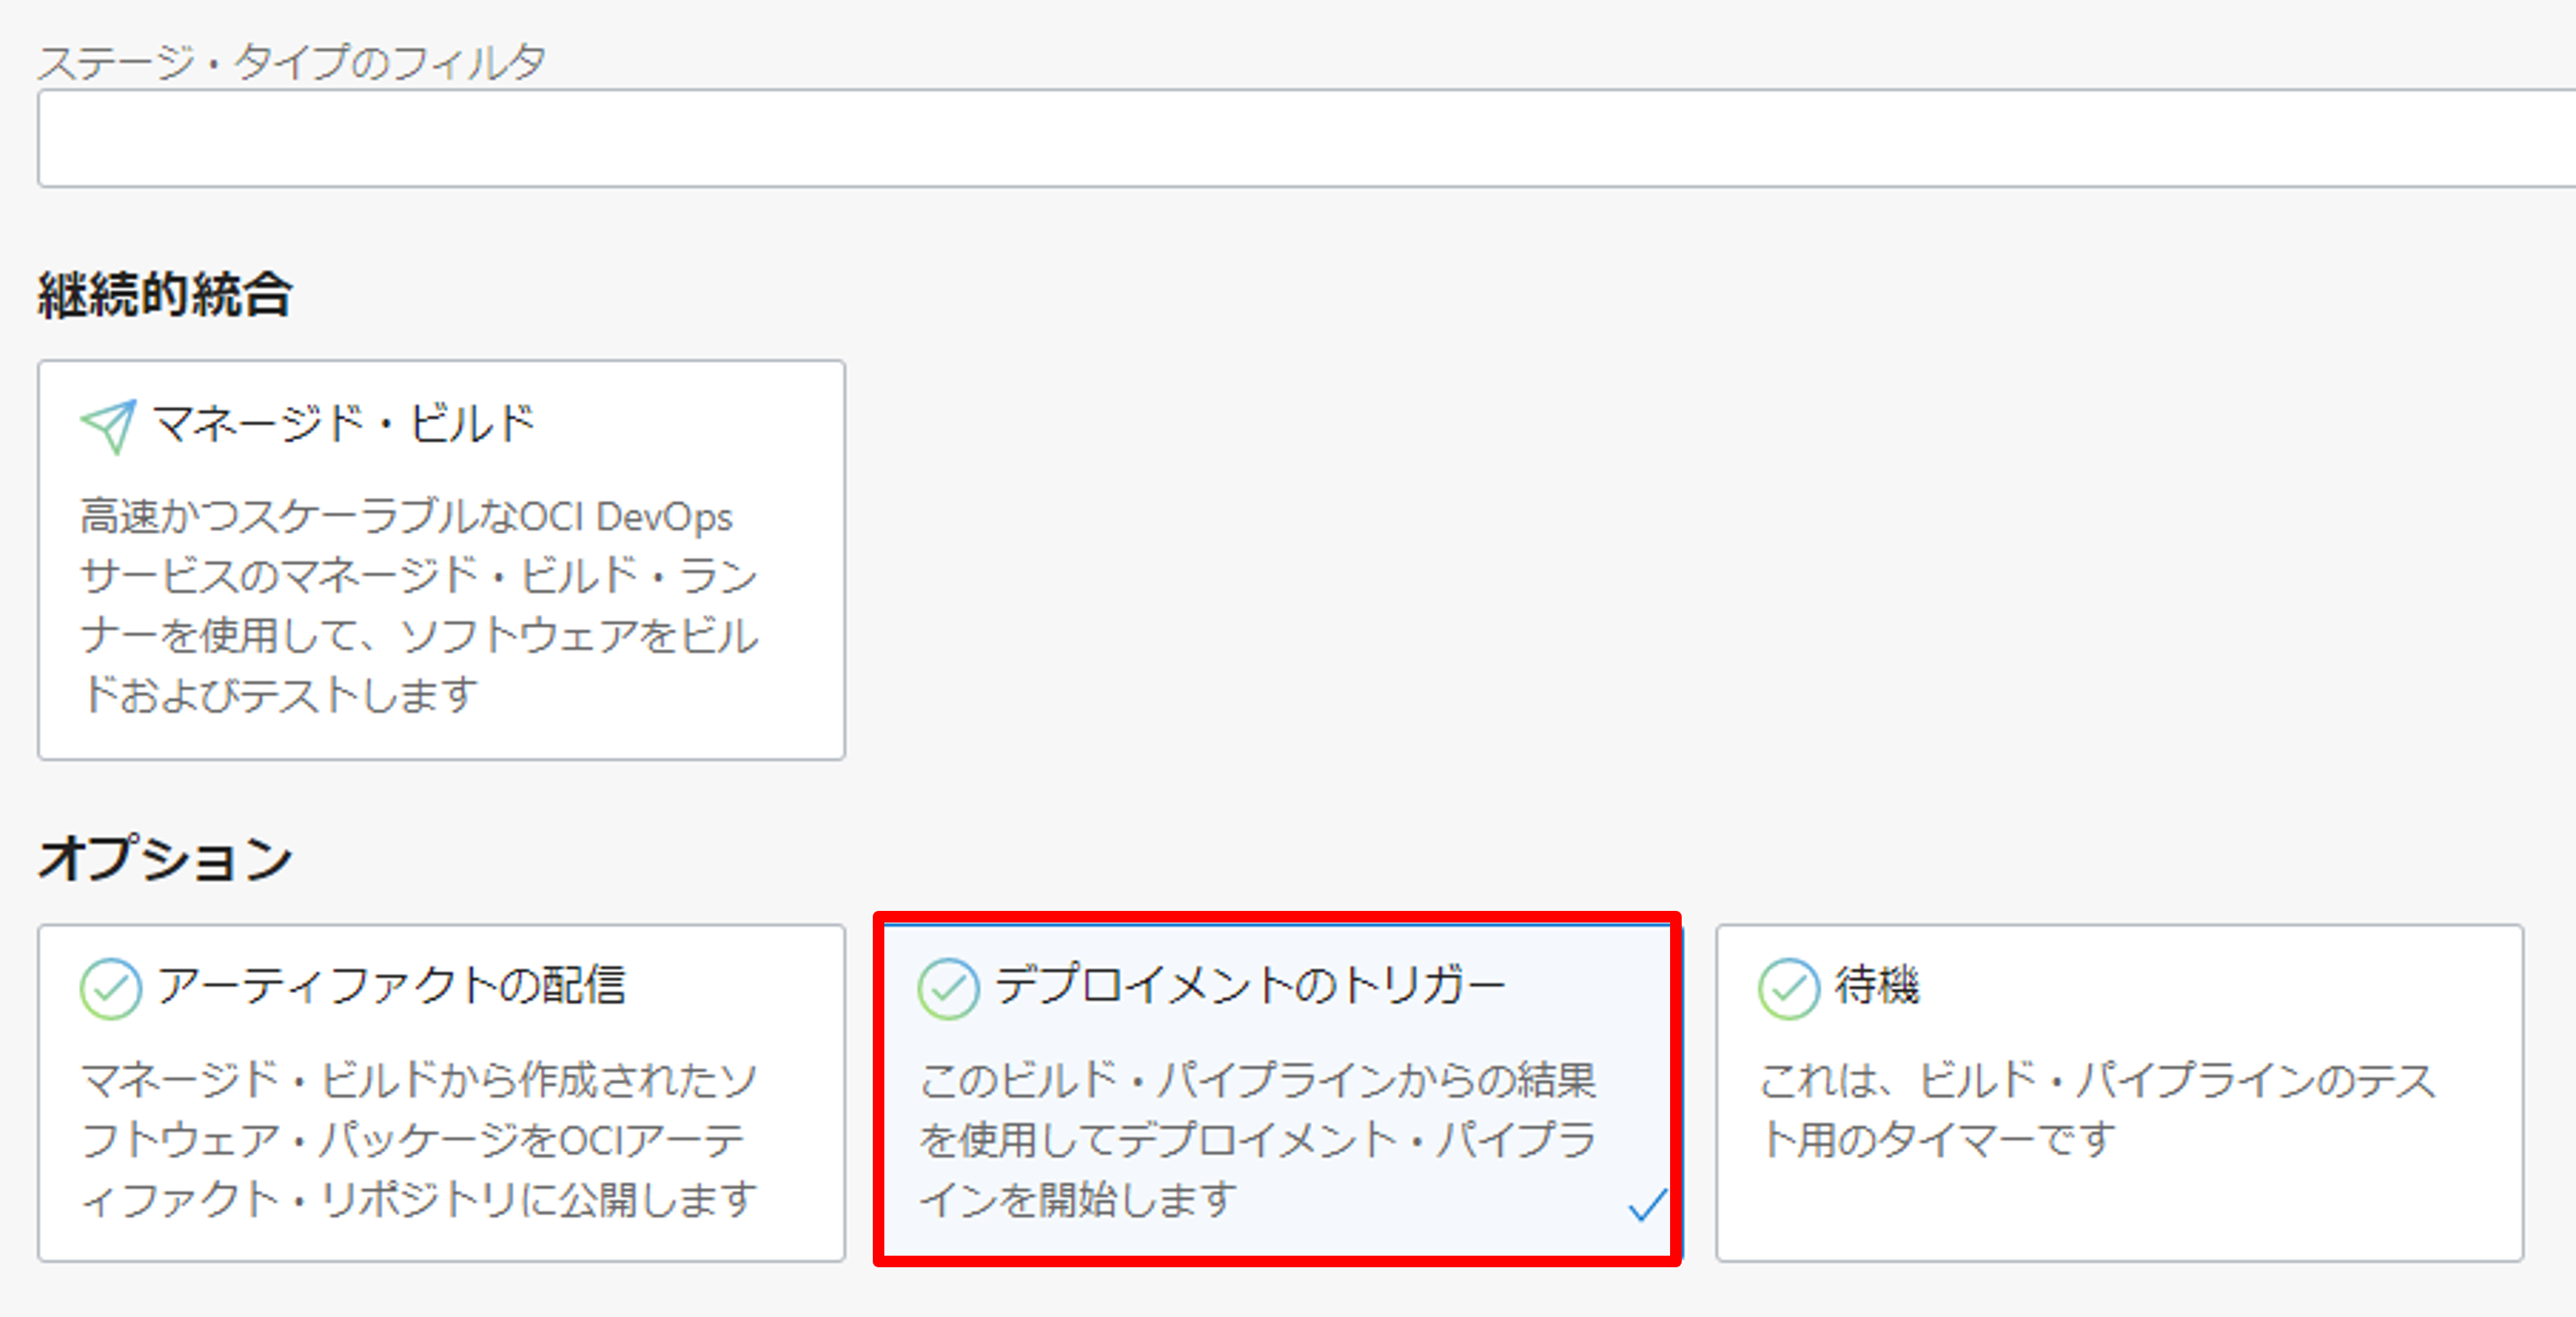
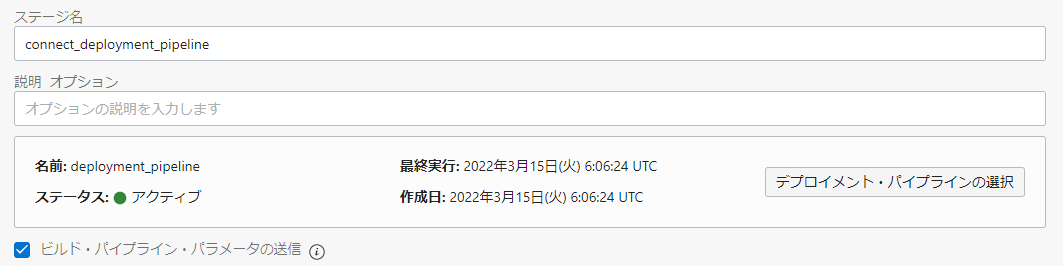
構成で以下のように入力し、追加をクリックします。
- ステージ名: connect_deployment_pipeline
- デプロイメント・パイプラインの選択: deployment_pipeline
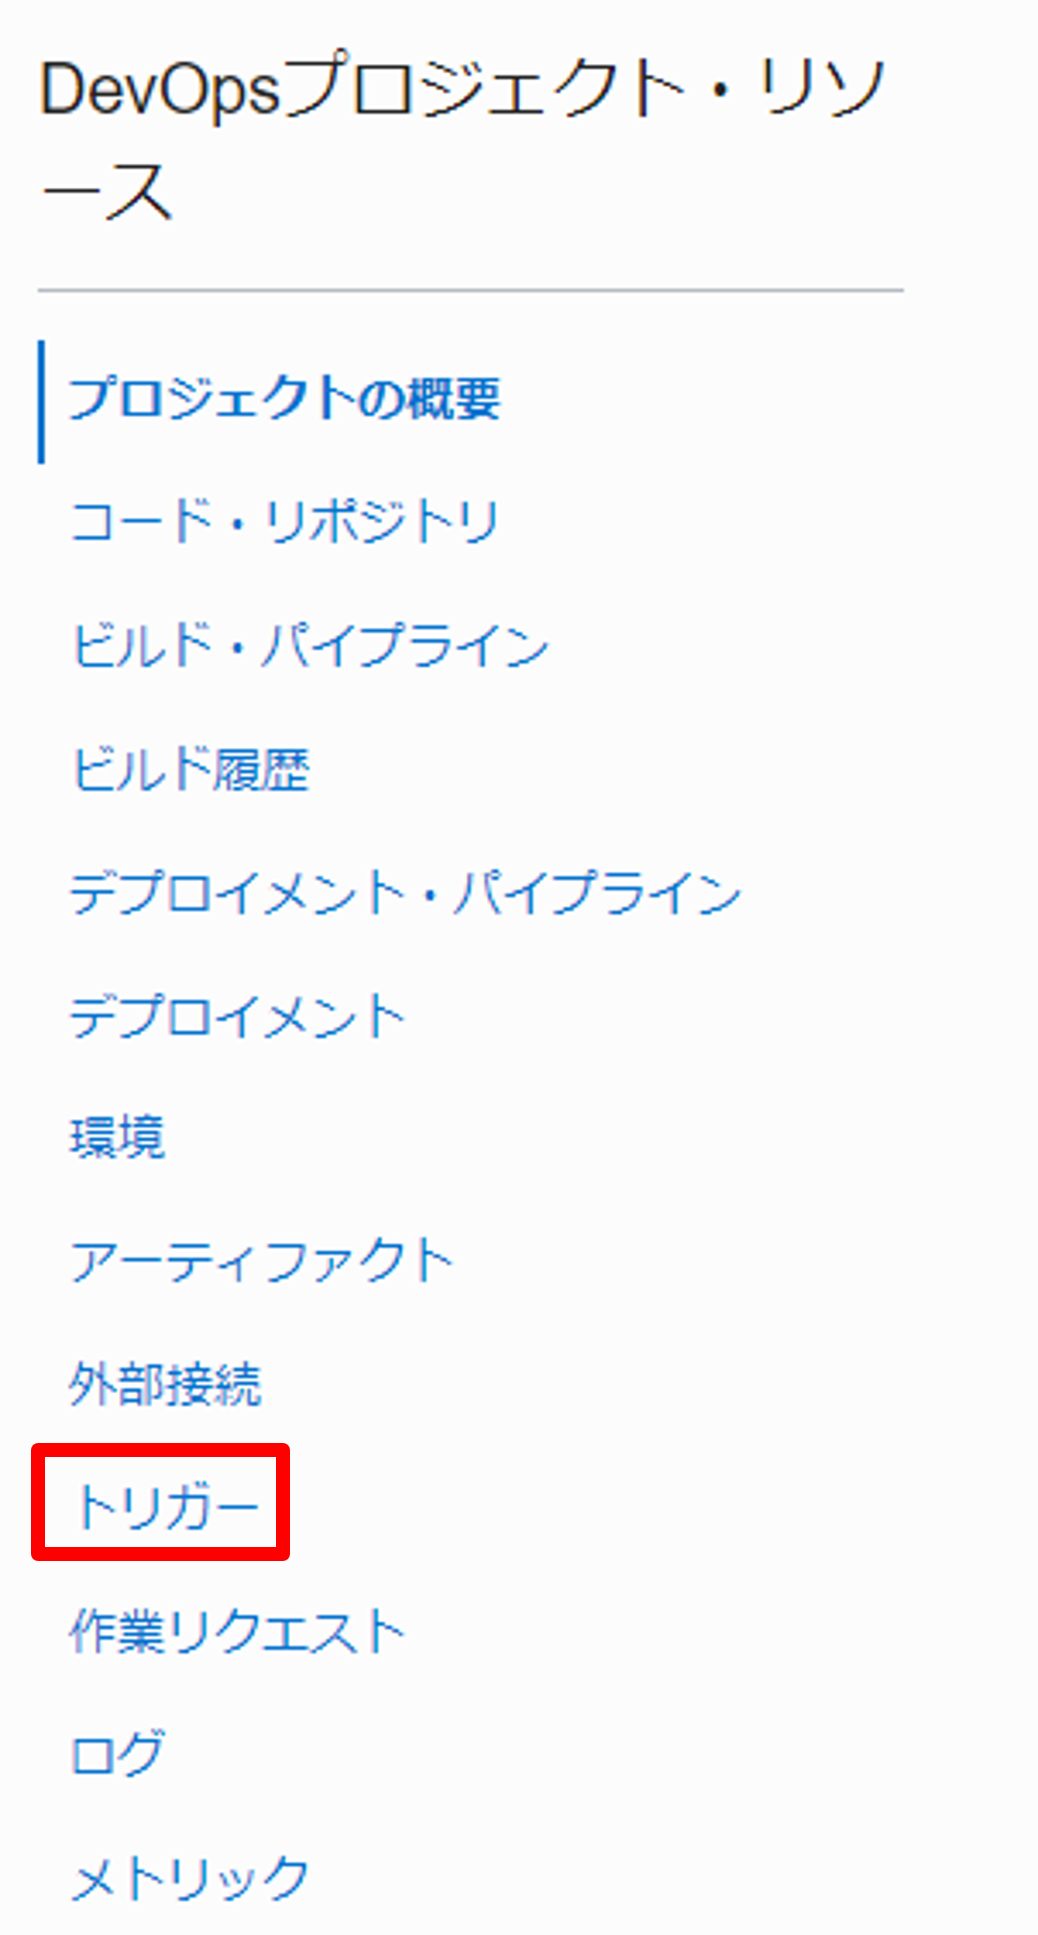
ビルド・パイプラインを実行するためのトリガーを作成します。作成した DevOps プロジェクト(oci-devops-handson)の詳細画面でトリガーを選択します。
トリガーの作成を押します。
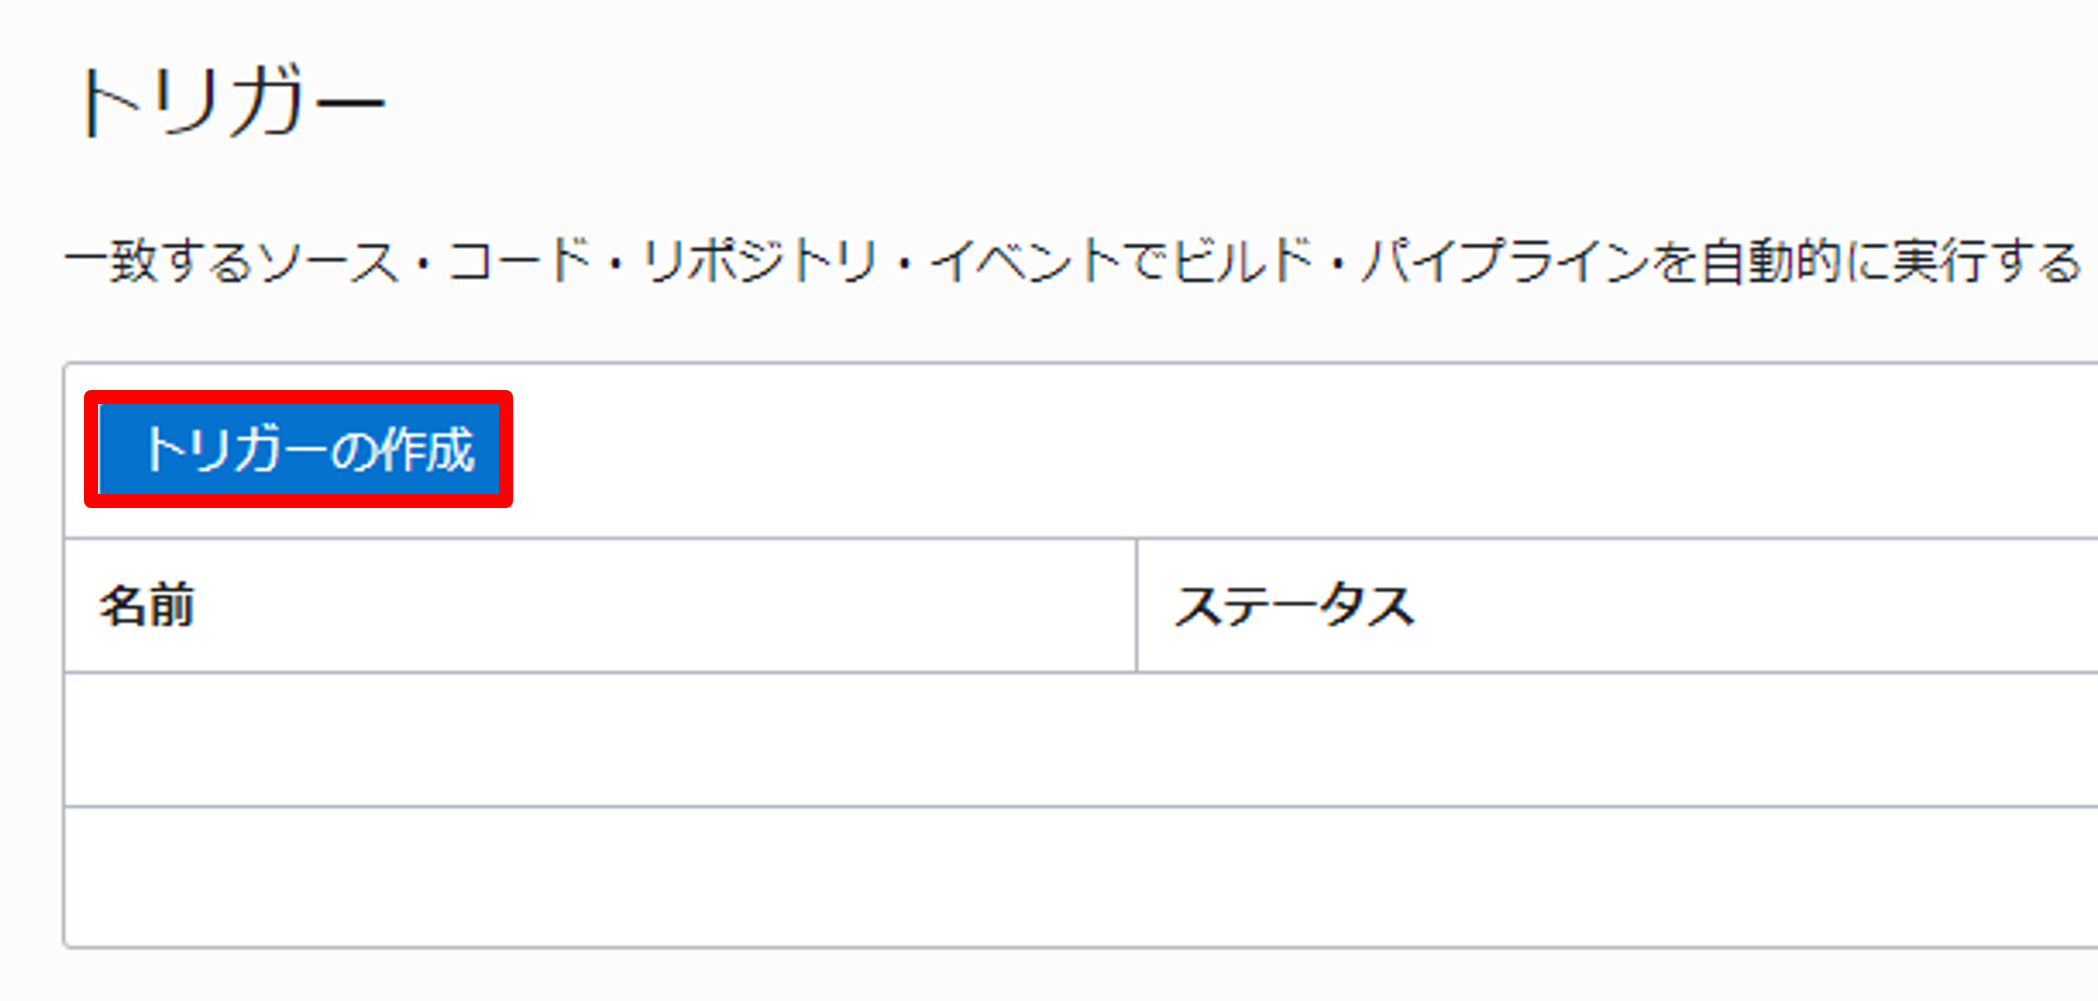
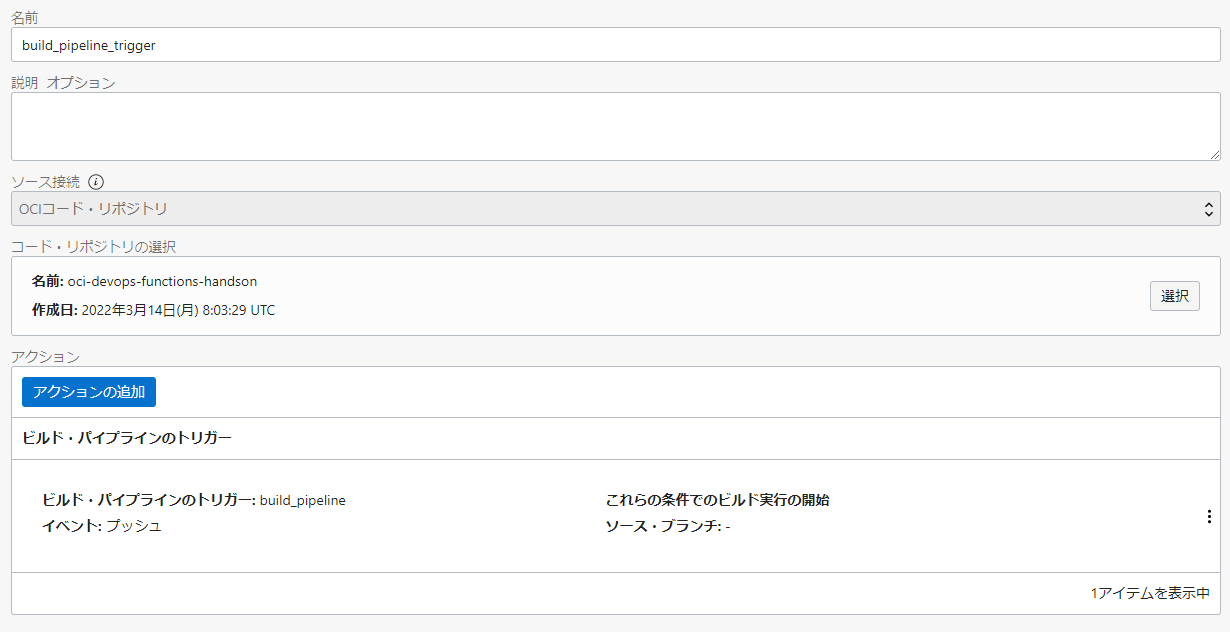
以下のように入力し、作成をクリックします。(指定のない項目は、デフォルトのまま進めてください)
- 名前: build_pipeline_trigger
- ソース接続: OCI コード・リポジトリ
- コード・リポジトリの選択: oci-devops-functions-handson
- アクションの追加
- ビルド・パイプラインの選択: build_pipeline
- イベント: push
前の手順までで、アプリケーションコードに対する変更がコード・リポジトリの更新(git push)をトリガーとし自動的に Oracle Functions へ反映される CI/CD パイプラインの構築ができたので、実際にソースコードを修正しコード・リポジトリにその変更を反映したいと思います。
まずは、アプリケーションコードを変更します。
cd ~/oci-devops-functions-handson/; \
vim fn-hello/src/main/java/com/example/fn/HelloFunction.java
以下のように変更します。
package com.example.fn;

public class HelloFunction {

    public String handleRequest() {
        System.out.println("Inside Java Hello World function");
        return "Hello from Function: 2.0"; // 1.0 から 2.0 へ変更
    }

}
続いて、テストコードも同様に変更します。
vim fn-hello/src/test/java/com/example/fn/HelloFunctionTest.java
以下のように変更します。
package com.example.fn;

import com.fnproject.fn.testing.*;
import org.junit.*;

import static org.junit.Assert.*;

public class HelloFunctionTest {

    @Rule
    public final FnTestingRule testing = FnTestingRule.createDefault();

    @Test
    public void shouldReturnGreeting() {
        testing.givenEvent().enqueue();
        testing.thenRun(HelloFunction.class, "handleRequest");

        FnResult result = testing.getOnlyResult();
        assertEquals("Hello from Function: 2.0", result.getBodyAsString()); // 1.0 から 2.0 へ変更
    }

}
変更分をコード・リポジトリに反映します。
git add fn-hello/*; \
git commit -m "Bump version from 1.0 to 2.0"; \
git push -u origin main
DevOps 上のビルド履歴から、ビルド・パイプラインが実行されている事が確認できます。

デプロイメント・パイプラインの成功が確認できた後に、Oracle Functions に変更が反映されているかどうかを確認してみましょう。
fn invoke oci-devops-handson-app fn-hello
変更内容が取り込まれていることが確認できました!
Hello from Function: 2.0
ここでは、ハンズオンの中で利用したビルド構成ファイル(build_spec.yaml)の解説を行います。
今回のハンズオンでは、サンプルアプリケーションの中に予めビルド構成ファイル(build_spec.yaml)を用意していました。
このファイルは、OCI DevOpsでビルドステップを定義する際に必ず必要になるファイルです。
ハンズオンの中では、1-3.ビルド・パイプラインの作成内の手順で利用しました。
ファイルは以下のようになっています。
version: 0.1
component: build
timeoutInSeconds: 10000
shell: bash
env:
  variables:
    function_name: fn-hello
    function_version: 0.0.3
  exportedVariables:
    - tag

steps:
  - type: Command
    name: "Docker image build"
    timeoutInSeconds: 4000
    command: |
      cd fn-hello
      fn build
      docker tag ${function_name}:${function_version} ${function_name}
      tag=`echo ${OCI_BUILD_RUN_ID} | rev | cut -c 1-7`
    onFailure:
      - type: Command
        command: |
          echo "Failure successfully handled"
        timeoutInSeconds: 60

outputArtifacts:
  - name: fn-hello-image
    type: DOCKER_IMAGE
    location: fn-hello
今回はビルドステップ内で行うタスクは1つだけになっており、
steps:
  - type: Command
    name: "Docker image build"
    timeoutInSeconds: 4000
    command: |
      cd fn-hello
      fn build
      docker tag ${function_name}:${function_version} ${function_name}
      tag=`echo ${OCI_BUILD_RUN_ID} | rev | cut -c 1-7`
    onFailure:
      - type: Command
        command: |
          echo "Failure successfully handled"
        timeoutInSeconds: 60
の部分で定義しています。
このステップでは、主にfn buildコマンドによるFunctions(コンテナイメージ)のビルドとタグ付けをおこなっています。
このビルドステップでビルドされた成果物(コンテナイメージ)を
outputArtifacts:
  - name: fn-hello-image
    type: DOCKER_IMAGE
    location: fn-hello
の部分でfn-hello-imageという名前のコンテナイメージ(type: DOCKER_IMAGE)として出力しています。
このfn-hello-imageという成果物を1-3.ビルド・パイプラインの作成の手順内のビルド構成/結果アーティファクト名で指定し、アーティファクト・レポジトリにアップロードしました。
以上で、ビルド構成ファイル(build_spec.yaml)の解説は終了です。
ビルド構成ファイルについてビルド構成ファイルの詳細については、こちらのドキュメントをご確認ください。